Overview
(or skip to the installation link)
You might have noticed a lot of fuss around AI-generated images and art recently. Basically, these are powerful, AI-powered, and deep learning-based tools that allow you to generate images based on your text inputs. Some of them are not free, some are available online for free, and even open source ones.
In this case, I’m installing one of these models known as Stable Diffusion on my PC.
It was publicly released by stability.ai and the community around it has been developing some very cool tools.
I might learn and write about how Stable Diffusion works at some point but until then you can check out either the whitepaper (link) or this great video by Computerphile (link).
Basically, through this process I’m installing two things:
- A stable diffusion model itself
- A WebUI tool that makes it easy to use the tool with a bunch of features
I’m installing AUTOMATIC1111 / stable-diffusion-webui (link). There is a guide there as well, I’m just posting it here in a bit more detail.
Installation
Required Dependencies
It turns out I’ll need to install a few things to get started so let’s start with there:
- Install Python 3.10.6
- Install git
- Get the WebUI code from GitHub
- Get Stable Diffusion model Checkpoints
1 - Installing Python
- Go to https://www.python.org/downloads/release/python-3106/
- Scroll down and find the list of files. I’ll need Windows installer (64-bit) on
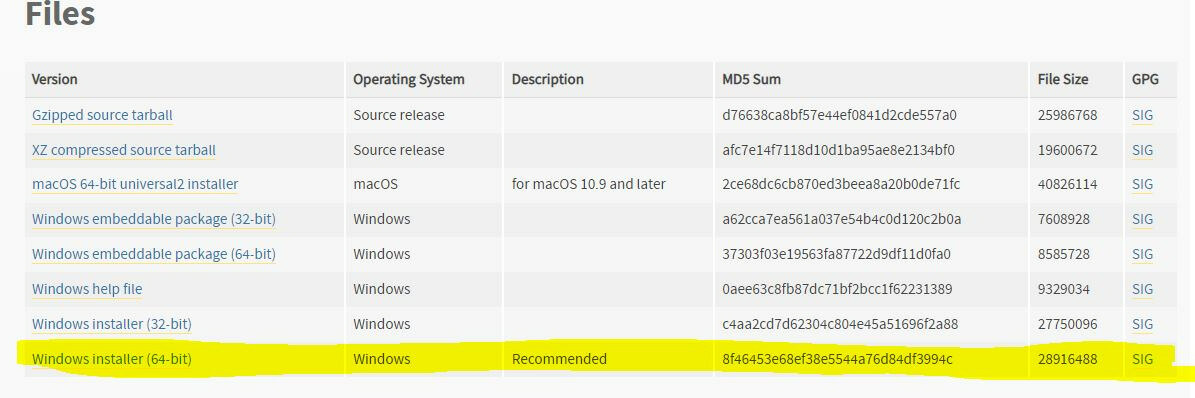
- Download and run it
- Make sure to check the box of “Add Python 3.10 to PATH” and then press install now
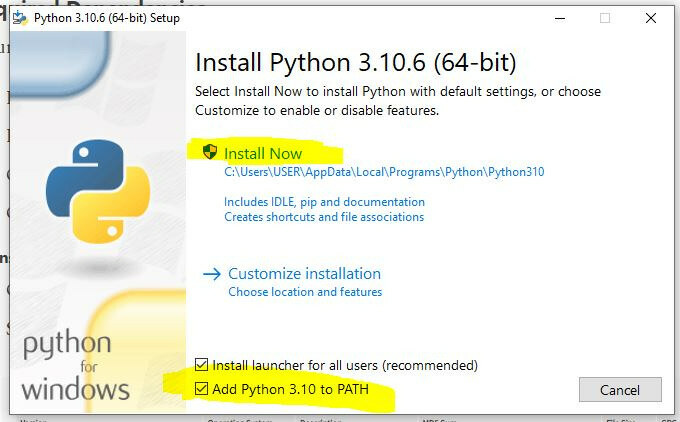
- Once the bar is filled, press finish. Python is installed!
2 - Installing git
- Go to https://git-scm.com/download/win
- Once again I’m selecting 64-bit version and downloading it

- Run and click next next next quite a few times without changing any settings.
- Once the bar is filled, click finish. git is installed!
3- Getting the WebUI code from GitHub
- First I need to decide where to install it. I know it will require a lot of disk space so I created a new folder on Local Disk (D:) and called the folder “Irakli's Stable Diffusion webui”
- Go to that created folder, right click and select “git bash here”
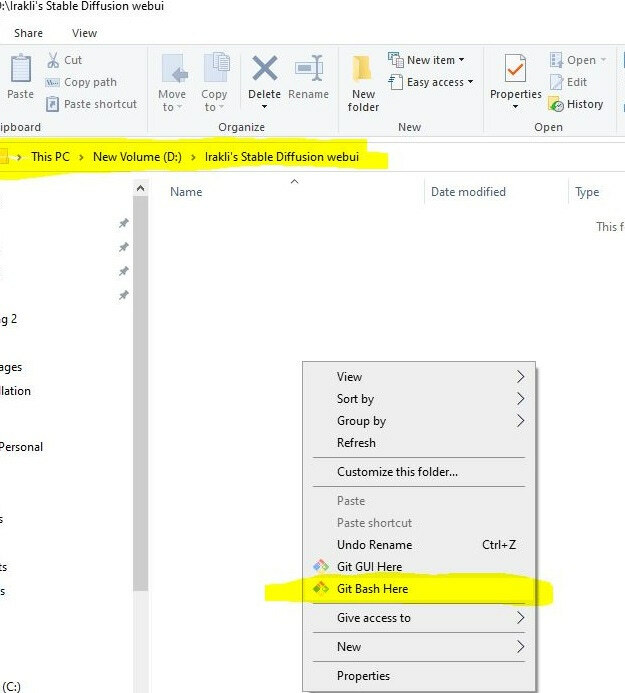
- a dark git window will pop out where I paste this code and press enter:
- Some code will run and you’ll see a “new stable-diffusion-webui” subfolder that contains the code you just cloned
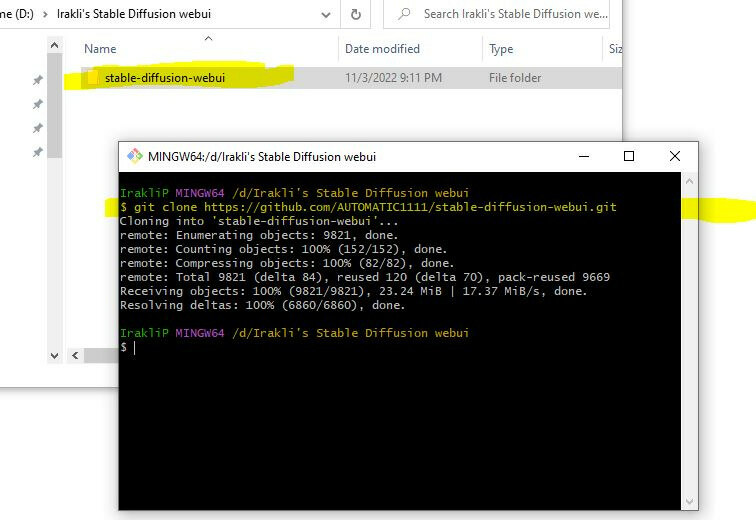
- Done, we got the webui code!
4 - Get Stable Diffusion model Checkpoints
These files are the brains of the whole thing, trained on billions of data points. Quite a few of them exist and they are large files (~7GB each). I know about three versions of these files that I want to try so let’s download all of them:
- Go to https://huggingface.co/ and create an account there
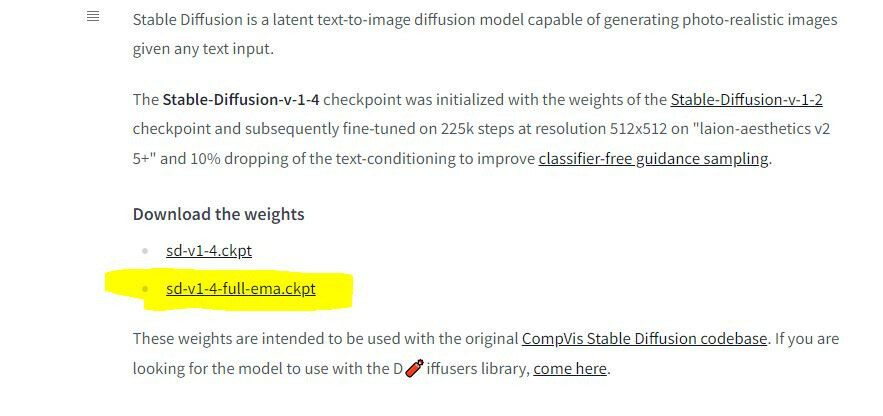
- Go to https://huggingface.co/CompVis/stable-diffusion-v-1-4-original and under “Download the Weights” press “sd-v1-4-full-ema.ckpt” it will download the file
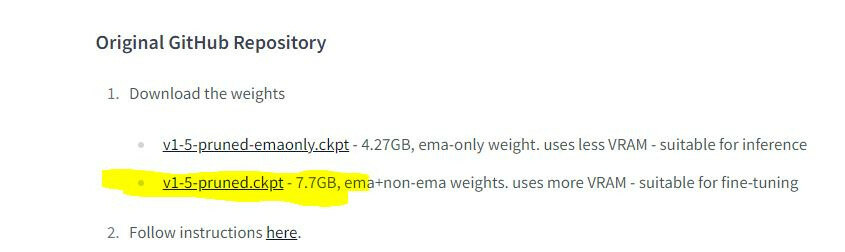
- Go to https://huggingface.co/runwayml/stable-diffusion-v1-5 and under “Download the weights” press “v1-5-pruned.ckpt” it will download the file
- And for the third file go to https://huggingface.co/runwayml/stable-diffusion-inpainting scroll down a bit and under download weights press “sd-v1-5-inpainting.ckpt” to download the file

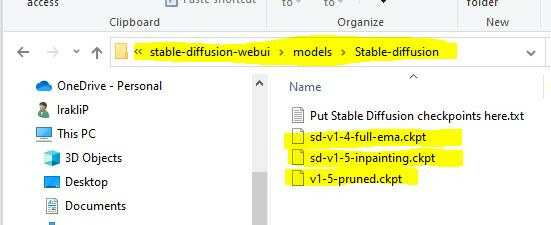
- The final step is to copy all three files in your stable diffusion folder on your PC. for me it’s “D:\Irakli's Stable Diffusion webui\stable-diffusion-webui\models\Stable-diffusion”. The result looks like this
- And with that prep is done!
Launching Installation
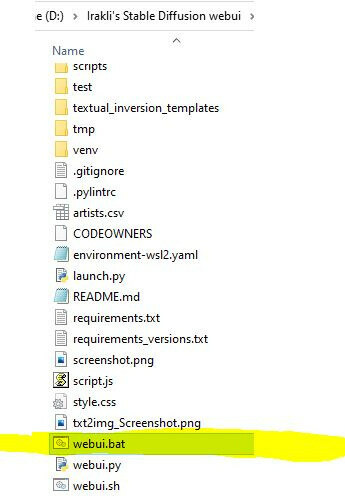
- Go to the stable diffusion folder, for me it’s “D:\Irakli's Stable Diffusion webui\stable-diffusion-webui”
- Find the file called “webui.bat”, right-click, and double-click it
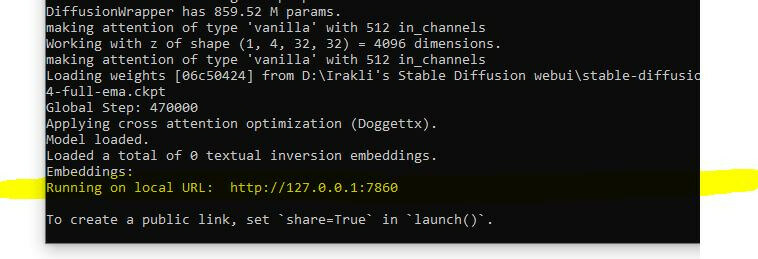
- A black cmd window will pop up and start installing a bunch of things. Just wait, it takes a few minutes
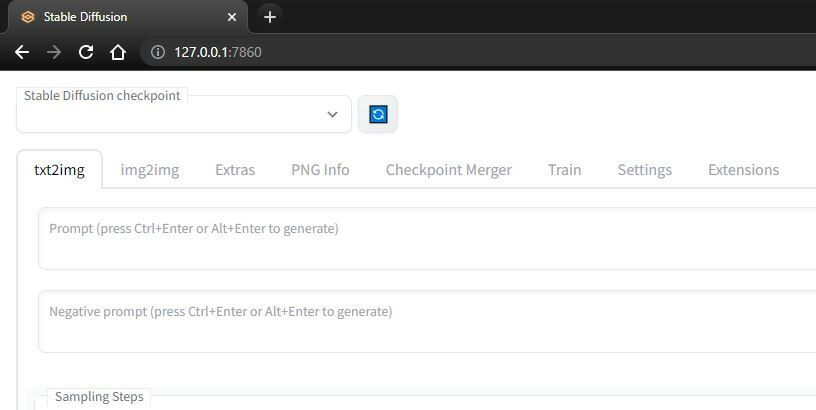
- once it’s done, you’ll see a message like this. Do not close the black cmd window, just copy the address you see there for me it’s http://127.0.0.1:7860
- That’s it! paste the address in web browser address bar and click enter. it will display your webui where we can generate images using prompts