Hello everyone,
In this post, I want to share my first attempt to generate 2D game assets using stable diffusion. There is a lot to optimize in this flow, and I will likely do follow-up posts about it, but I believe this is a good start.
I’m not the first to attempt something like this, and there are even folks and companies who are way ahead, about to turn this into a commercial product. For example, some mind-blowing work by https://twitter.com/emmanuel_2m
Overview of what I did
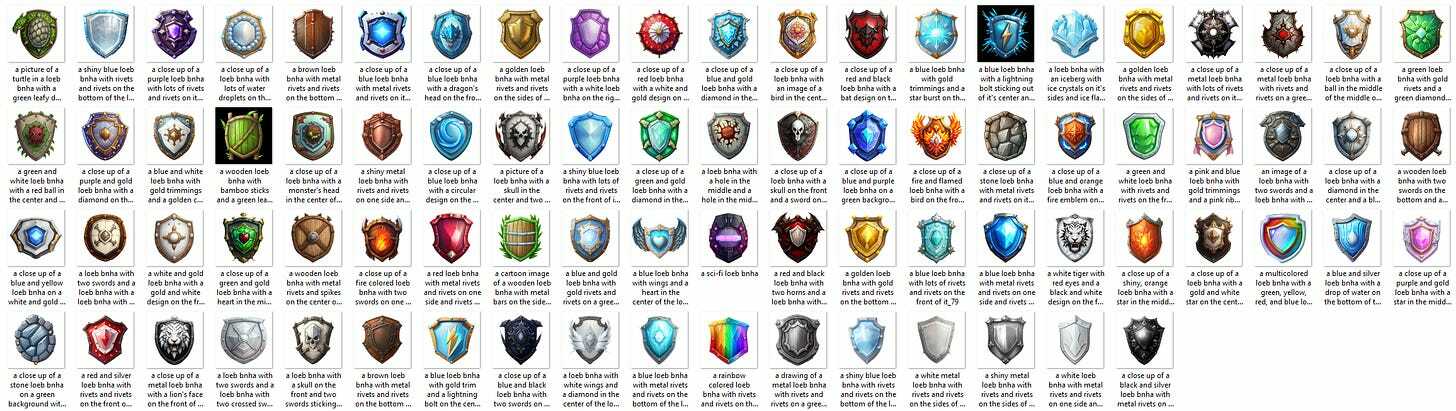
I started with getting some 2d assets that I wanted to iterate on. In this case, I got ~100 images of shields from https://www.gamedevmarket.net/. You can likely achieve similar or better results with a smaller or larger number of images, and you can get them wherever you like, whether it’s painting by hand or using SD or MidJourney to generate them.
For fine-tuning, I used EveryDream trainer. It’s a very interesting alternative to Dreambooth implementations, and I’ll do more deep dives into ED. Meantime, check out their Discord.
After fine-tuning, I used Automatic1111 WebUI (link to our way of installing it) and generated a bunch of variations using txt2img and img2img.
Step-by-step guide
1 - Caption your assets
First, install EveryDream Tools:
- Start WSL or however you navigate in your folders. In my case, I go to my base directory: cd ~
- Type: git clone https://github.com/victorchall/EveryDream.git
- Go to the directoy: cd EveryDream/
- I had issues installing the environment with environment.yaml so doing it manually
- Let’s create the environment first: conda create --name edtools python=3.10
- Activate environment: conda activate edtools
- Install requirements: pip install -r requirements.txt
- Manually install one more package:
- pip install torch==1.12.1+cu113 torchvision==0.13.1+cu113 --extra-index-url https://download.pytorch.org/whl/cu113
- And clone Blip:
- git clone https://github.com/salesforce/BLIP scripts/BLIP
Now we caption the images
- Place your assets in the input folder of the EveryDream repo. There is a folder inside the directory we cloned called input, and I pasted my 100 images of shields inside there.
- Then run the following command: python scripts/auto_caption.py
- Now check the results in the output folder of the EveryDream directory. Make sure all items contain the name of a thing that you are training for. In my case, it’s “shield,” and I had to change a few names manually from an “umbrella” or “round object”.
- Now instead of a shield, I will be using some random identifiers. Inspired by this Reddit post. Link I ended up choosing a combination of two rare random tokens: “loeb bnha”
- Let’s replace “shield” in those names with “loeb bnha” using this command:
- python scripts/filename_replace.py --img_dir output --find "shield" --replace "loeb bnha"
- The training data is ready. This is how it looks in my case
2 - Fine-tuning using EveryDream
Installation of EveryDream Trainer
- Once again, I start by going to my base directory: cd ~. make sure the conda environment is deactivated: conda deactivate
- Clone the everyream trainer repo: git clone https://github.com/victorchall/EveryDream-trainer.git
- Go inside the folder: cd everydream-trainer/
- Create environment: conda env create -f environment.yaml
- And activate the environment: conda activate everydream
Fine-tuning process
- Open the directory folder: explorer.exe .
- And if there is no folder called “training_samples”, create a new one
- Inside training samples, I create a folder called “shields” and paste my captioned images there
- Go back to the base everydream folder and paste the ckpt that you’ll be using as a source. In my case, it’s the v1.5 emaonly. https://huggingface.co/runwayml/stable-diffusion-v1-5
- For this initial test, I won’t optimize anything; I’ll be covering that later.
- Simply launch the training with the command: python main.py --base configs/stable-diffusion/v1-finetune_micro.yaml -t --actual_resume v1-5-pruned-emaonly.ckpt -n shield_1 --data_root training_samples/shields
- This will run the training. In my case, I have 100 images. The default micro setting is to show each image 60 times per epoch, 4 images at a time. So 100/4*60=1500 steps per epoch + testing/validation steps. I’m training for 6 epochs total.
- At the end of each epoch, ckpt will be generated to find the optimal one.
- With 2 seconds per iteration, I expect a training time of 2*1700*6/60 = 340 minutes. Probably a bit too many repeats/epochs, but let’s see if the results are worth it.
- After seeing the results, I can tell that 1 or at most 2 epochs would have been plenty
Preparing ckpt files to generate images
- Once fine-tuning is done, go to the logs folder in everydream-trainer and open the checkpoints folder. In my case, it is everydream-trainer\logs\shields2022-12-04T23-53-20_shield_1\checkpoints
- You should see multiple checkpoints, one for each epoch + the one called last.ckpt. Usually, the latter is the same as the last epoch’s file.
- I can tell that 6 epochs, in this case, was total overkill, and I could have done much smaller tuning. I’ll write more about it later, but you can play with adjusting the number of repeats and epochs in the YAML file before fine-tuning. In this case, the file would have been everydream-trainer\configs\stable-diffusion\v1-finetune_micro.yaml
- The ckpt files in the logs directory are usually not pruned, 11GB files. To prune them, you can go to a folder called scripts, copy the file called prune_ckpt.py and paste it into the folder of logs with ckpt
- Then from your console:
- go to that folder: cd logs/shields2022-12-04T23-53-20_shield_1/checkpoints/
- And run python prune_ckpt.py --ckpt last.ckpt
- You’ll see a new pruned ckpt file generated that’s 2GB
- Copy the ckpt file and paste into the model folder for Automatic WebUI. In my case stable-diffusion-webui\models\Stable-diffusion
3 - Let’s generate some assets
- Launch SD WebUI as usual and load the pruned checkpoint you just copied
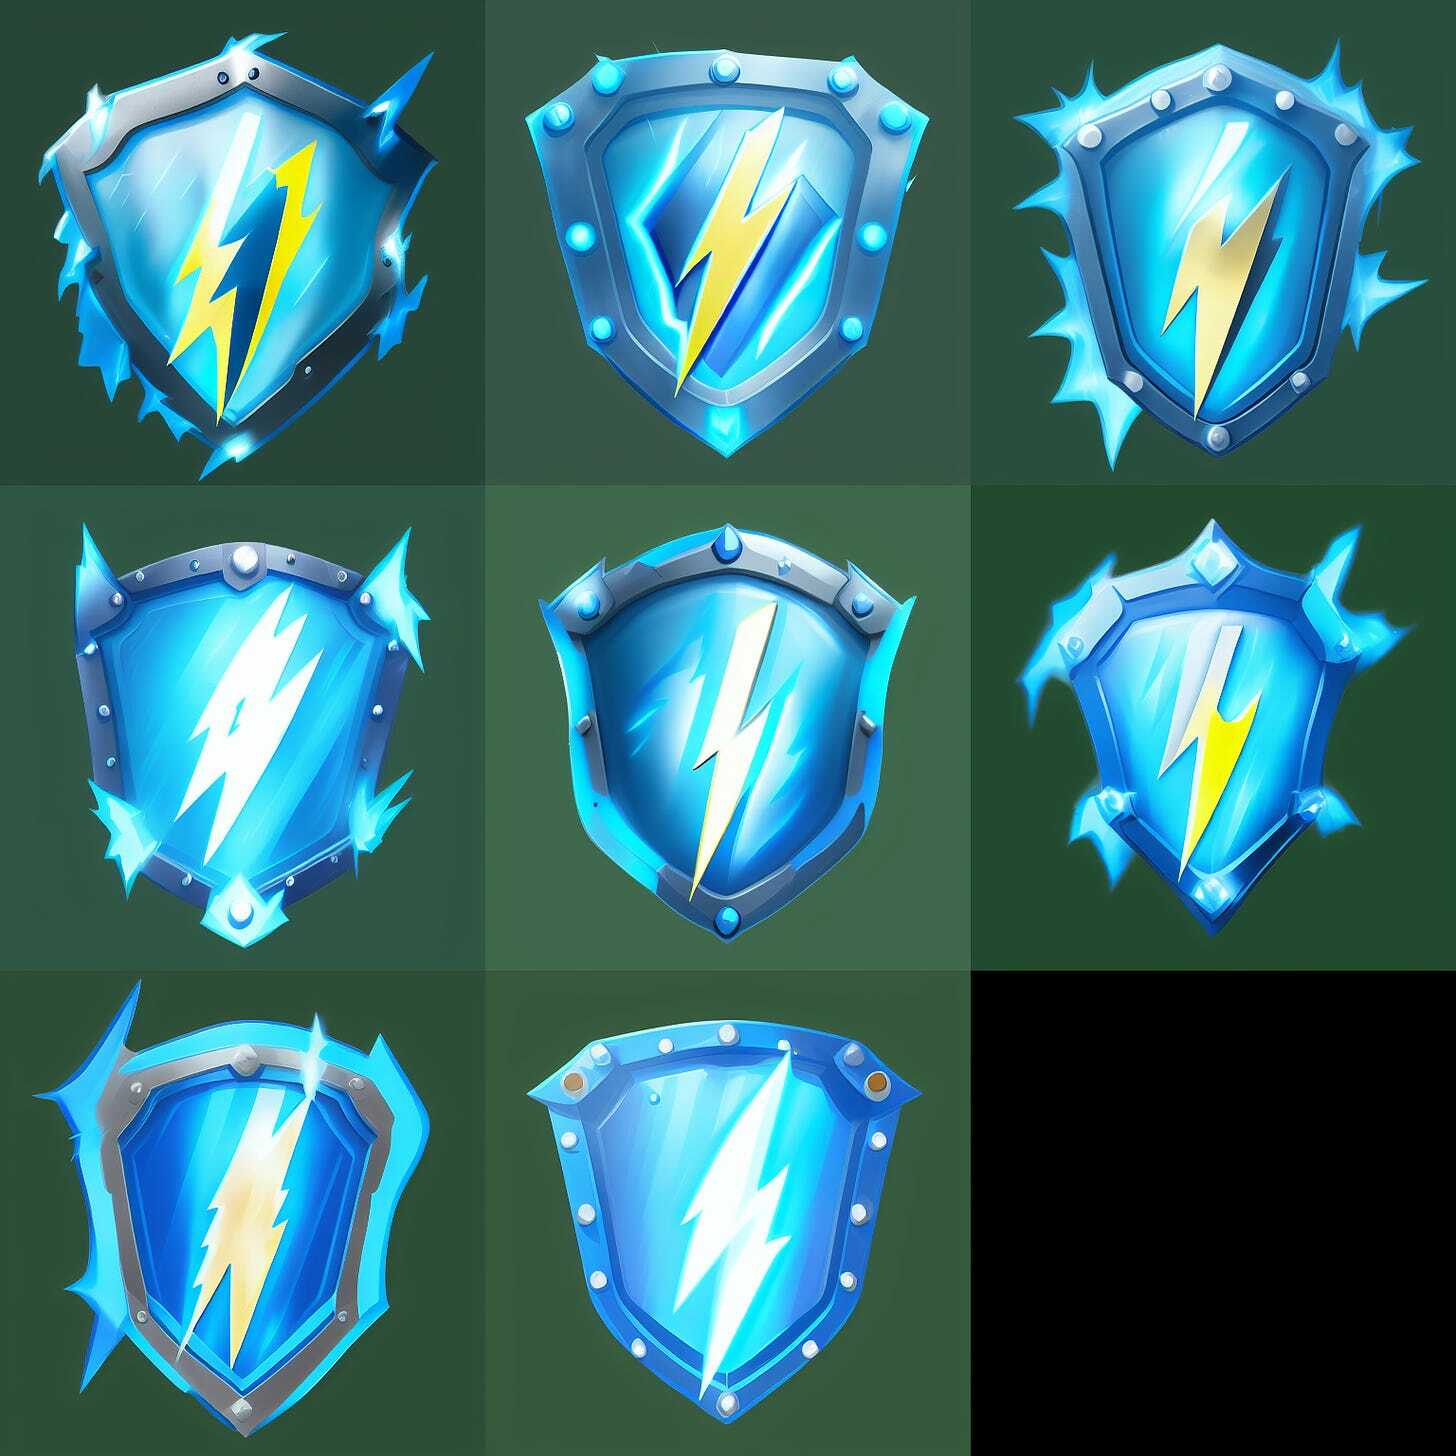
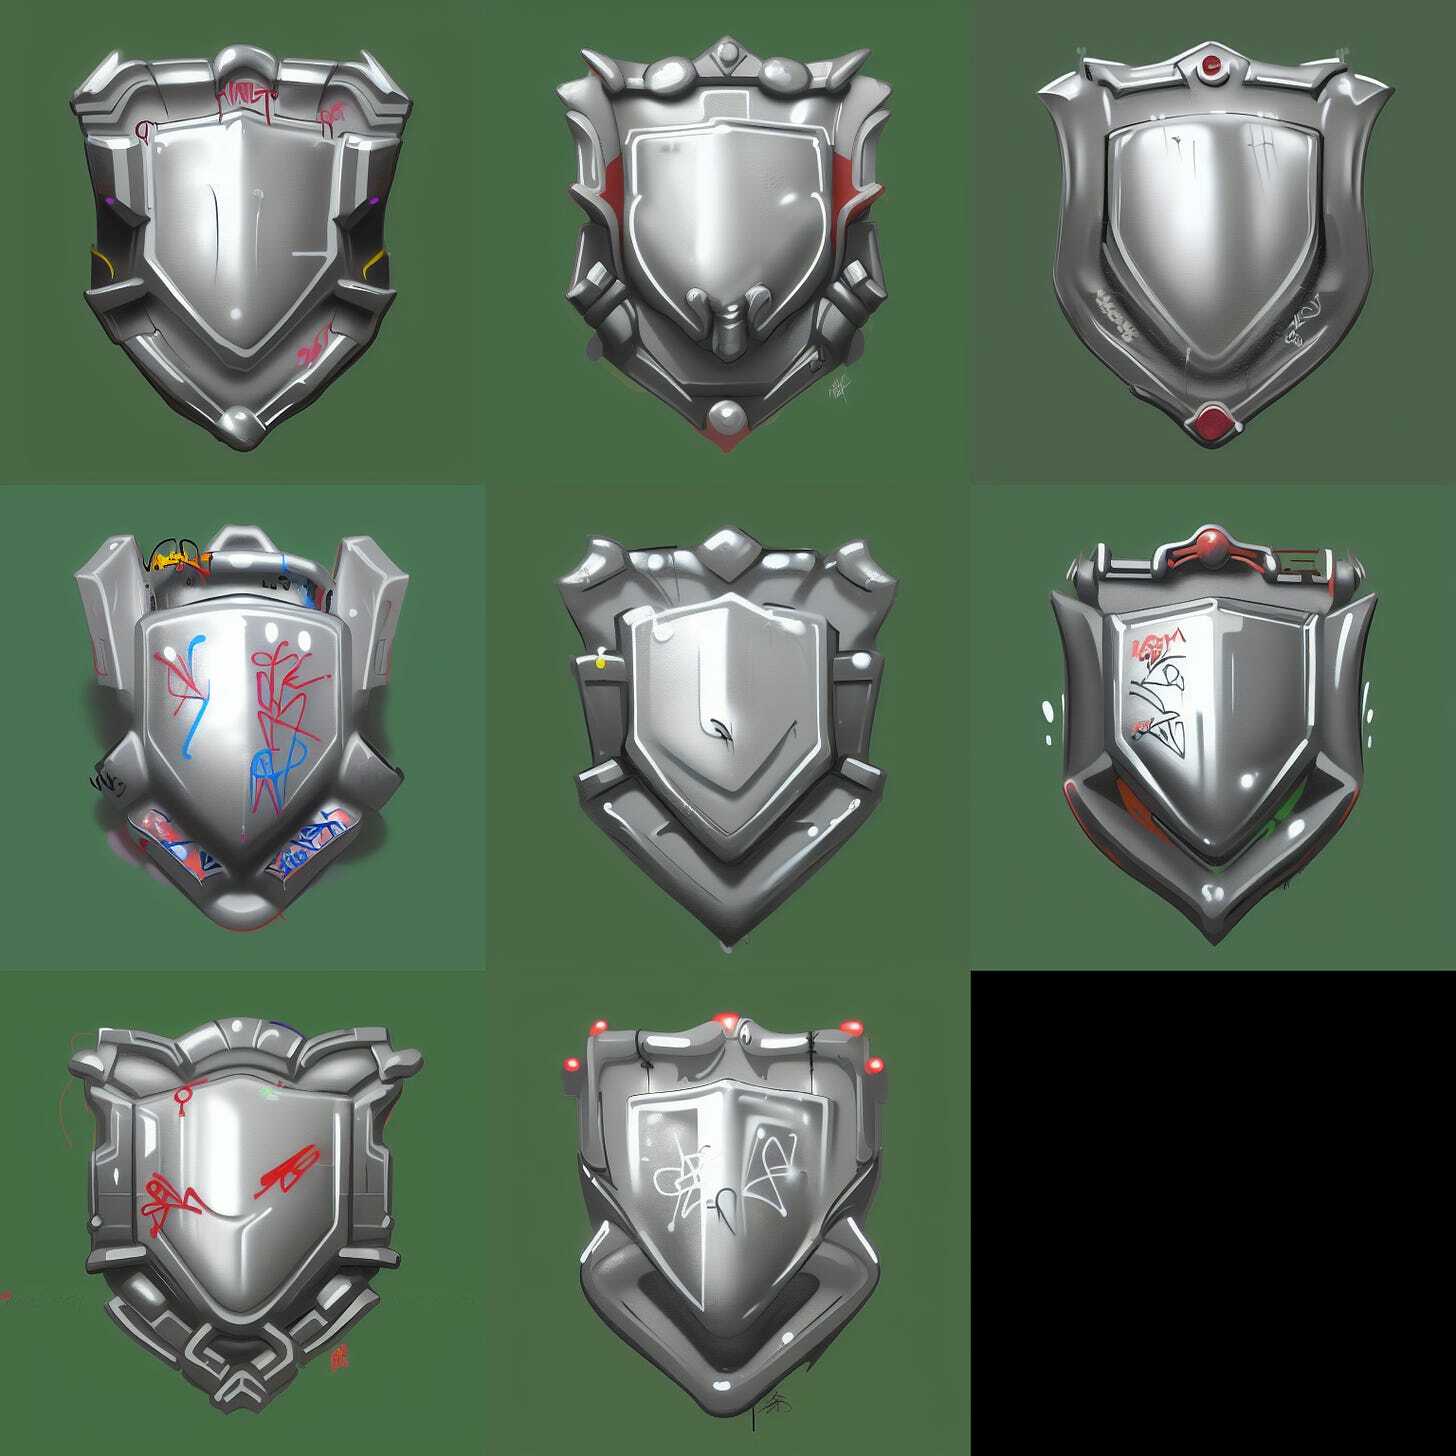
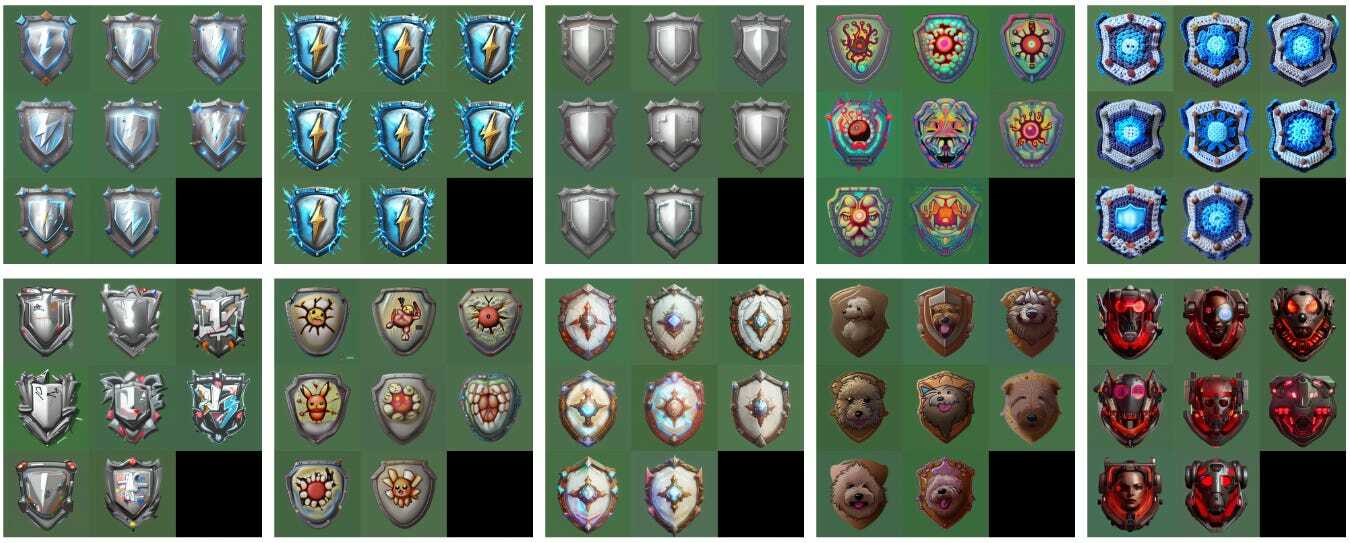
- For the first generation, I only changed the Batch Size to 8 and used “loeb bnha” as a prompt.
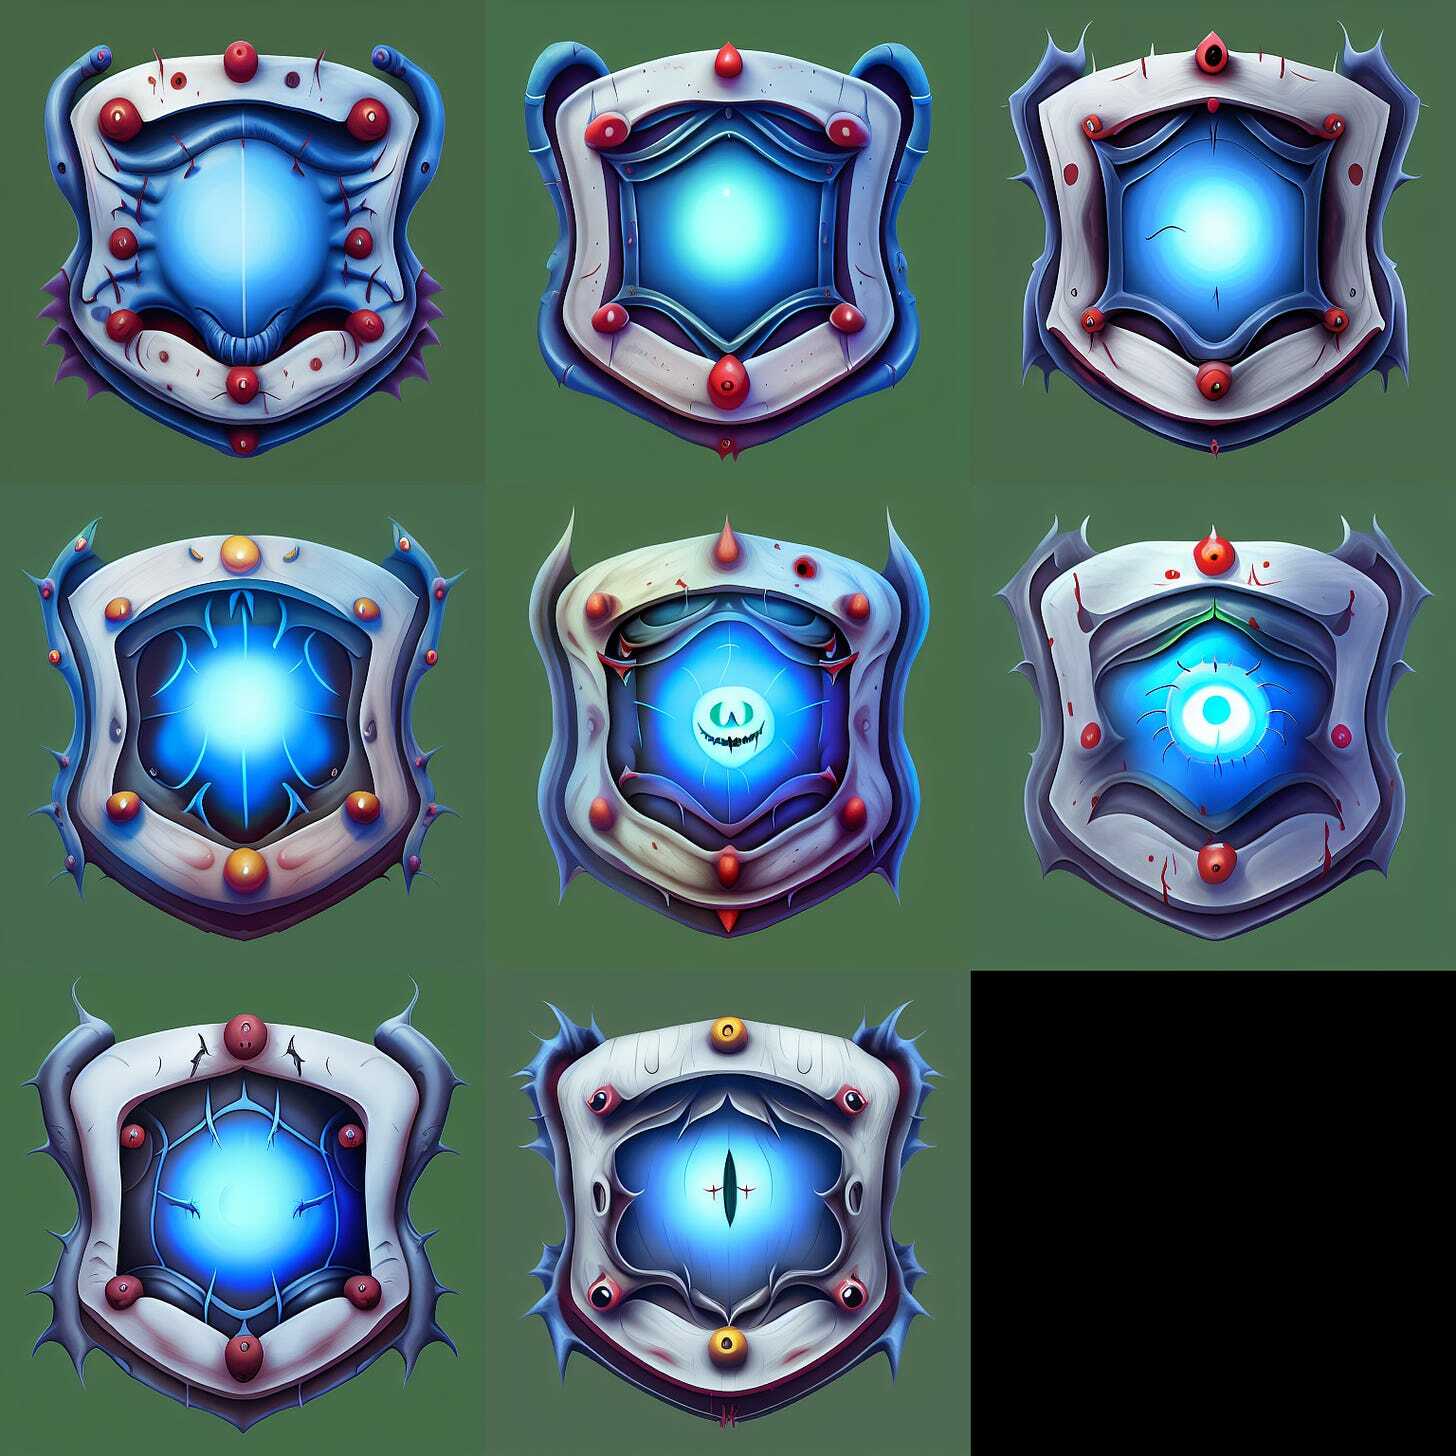
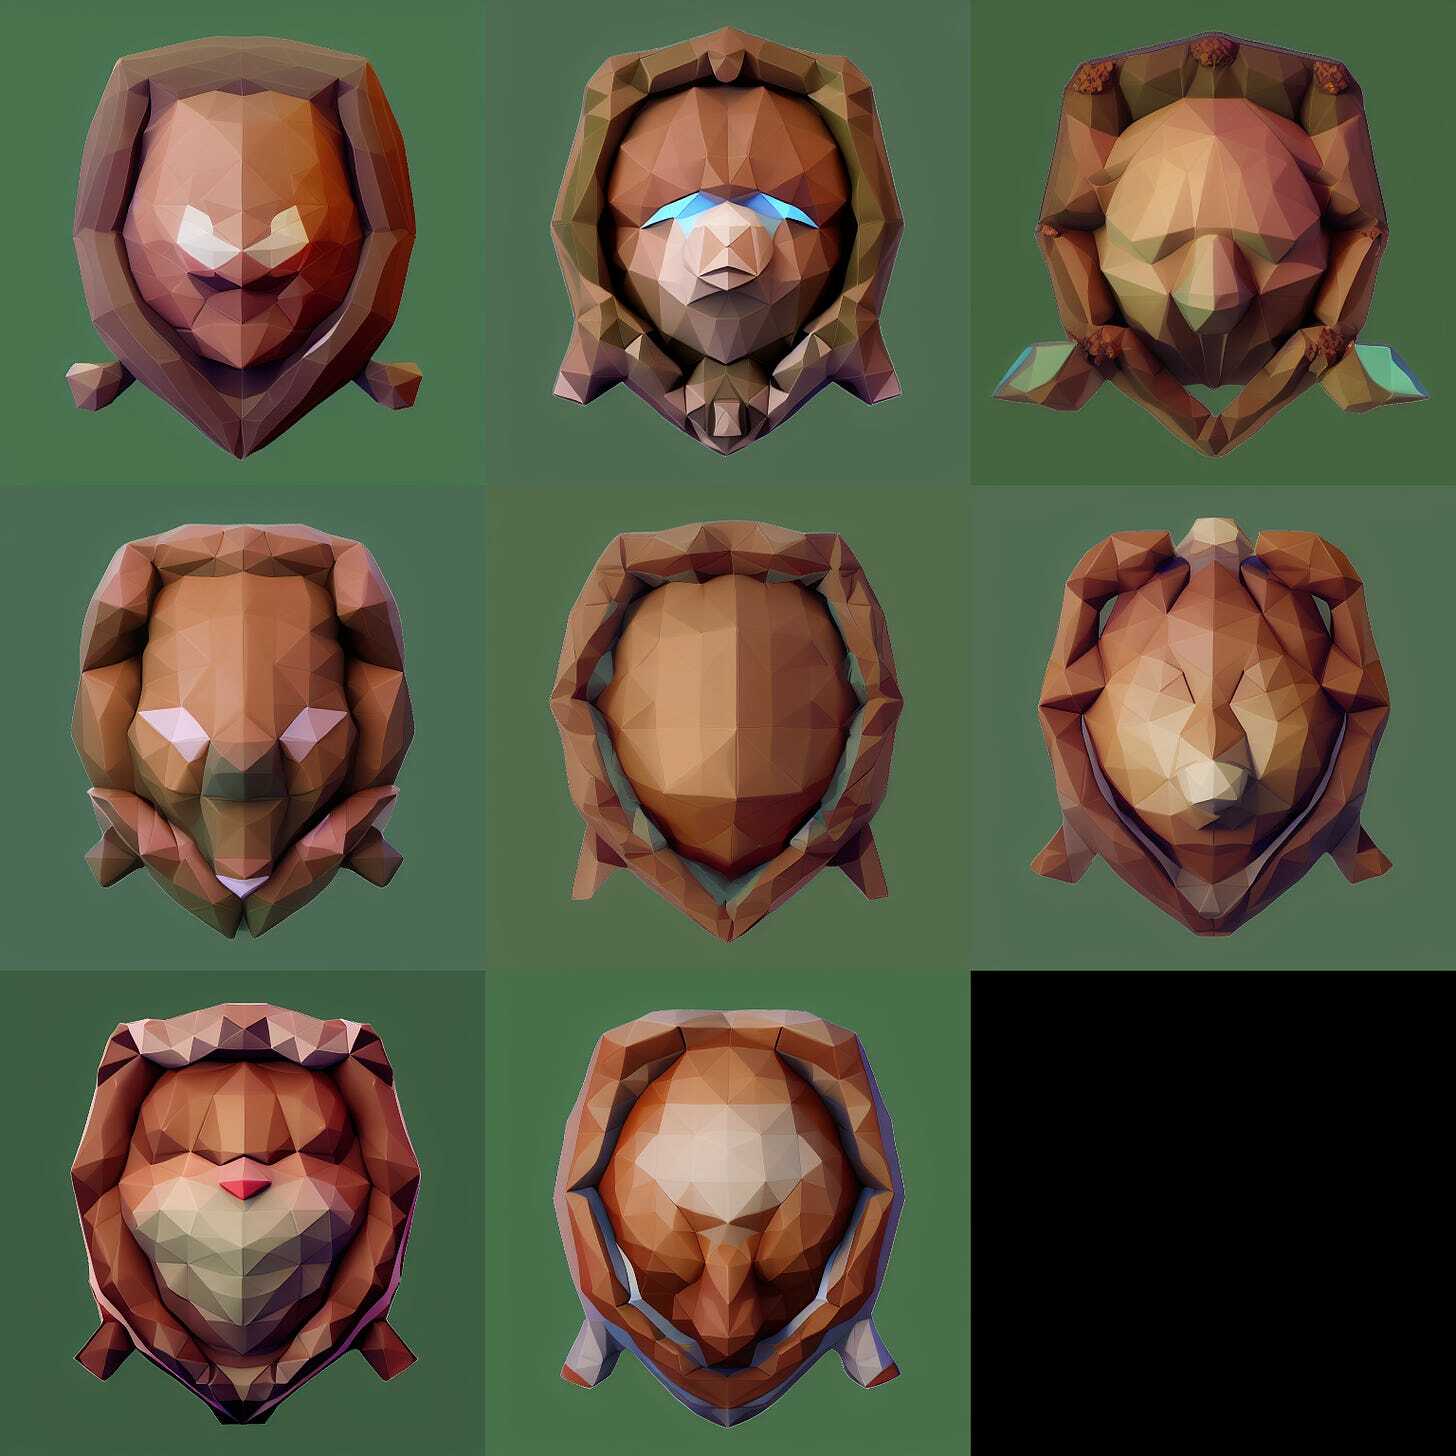
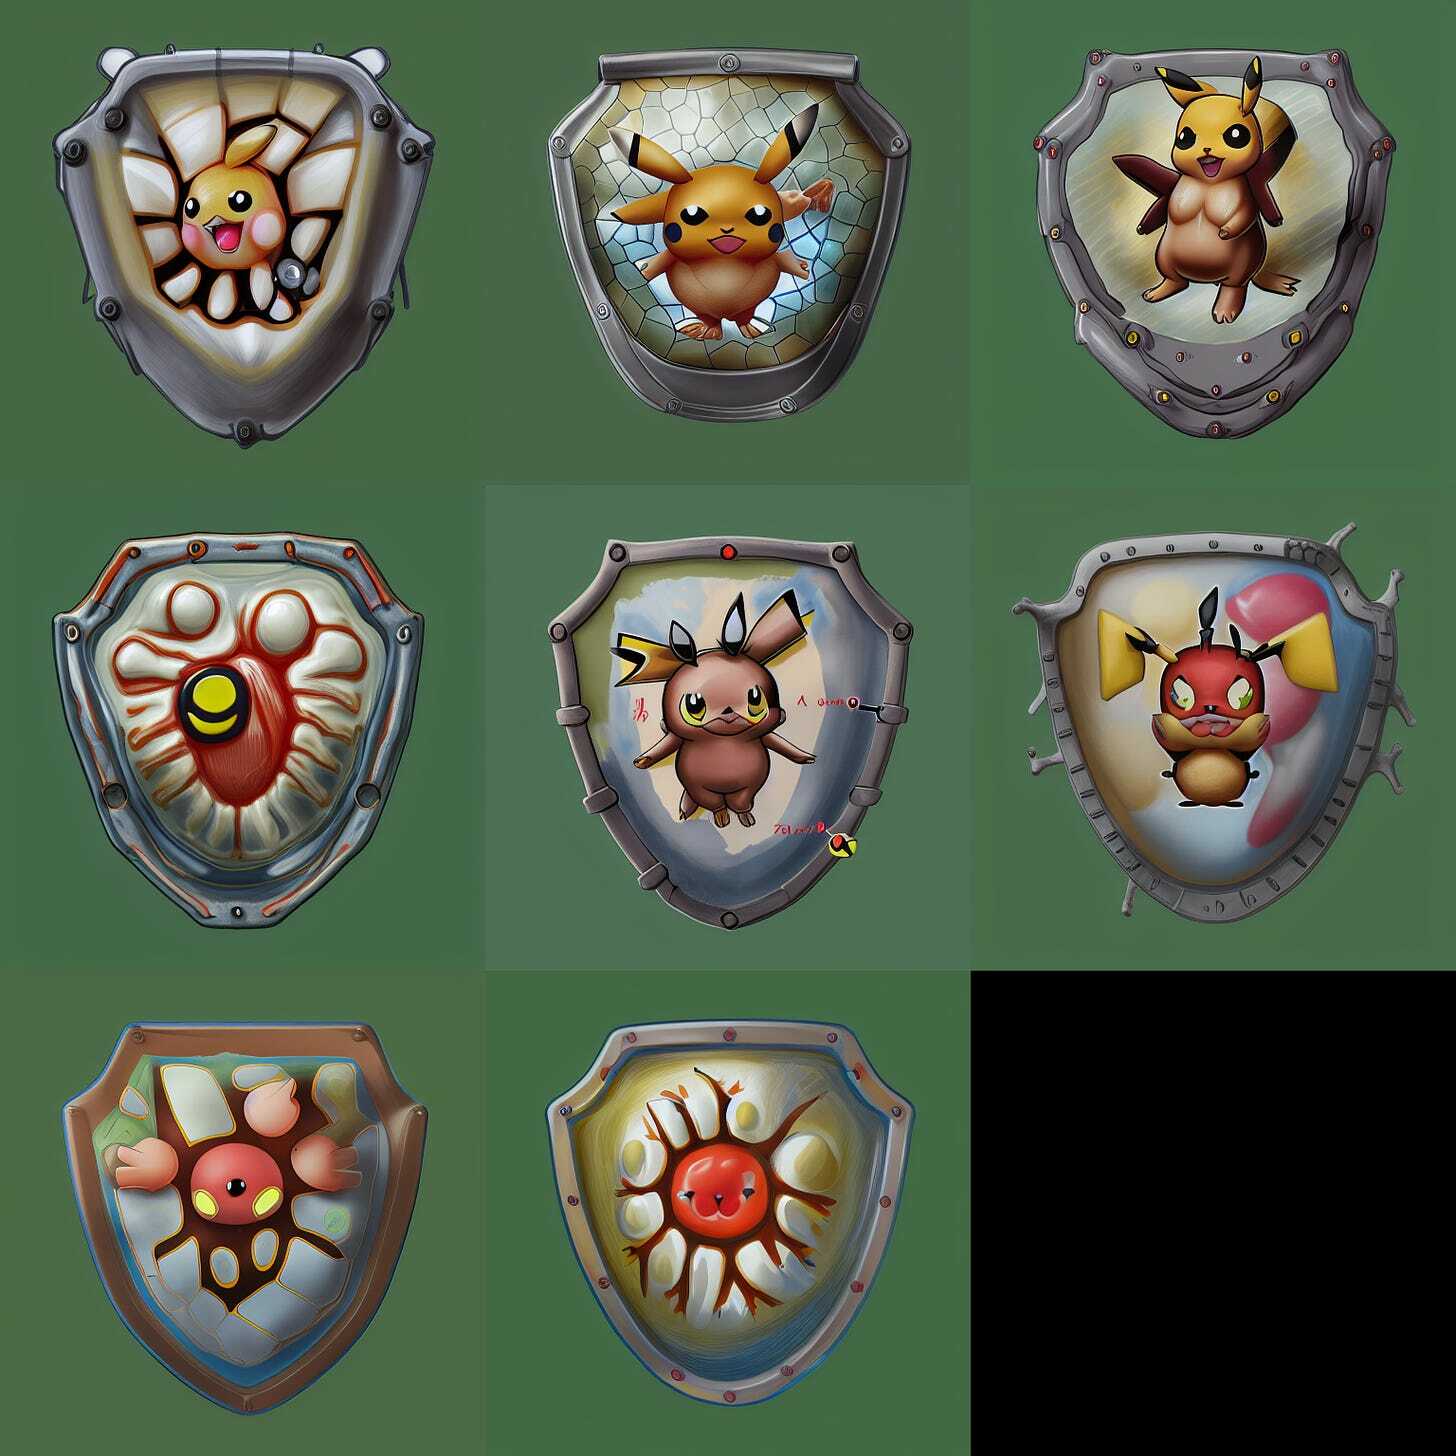
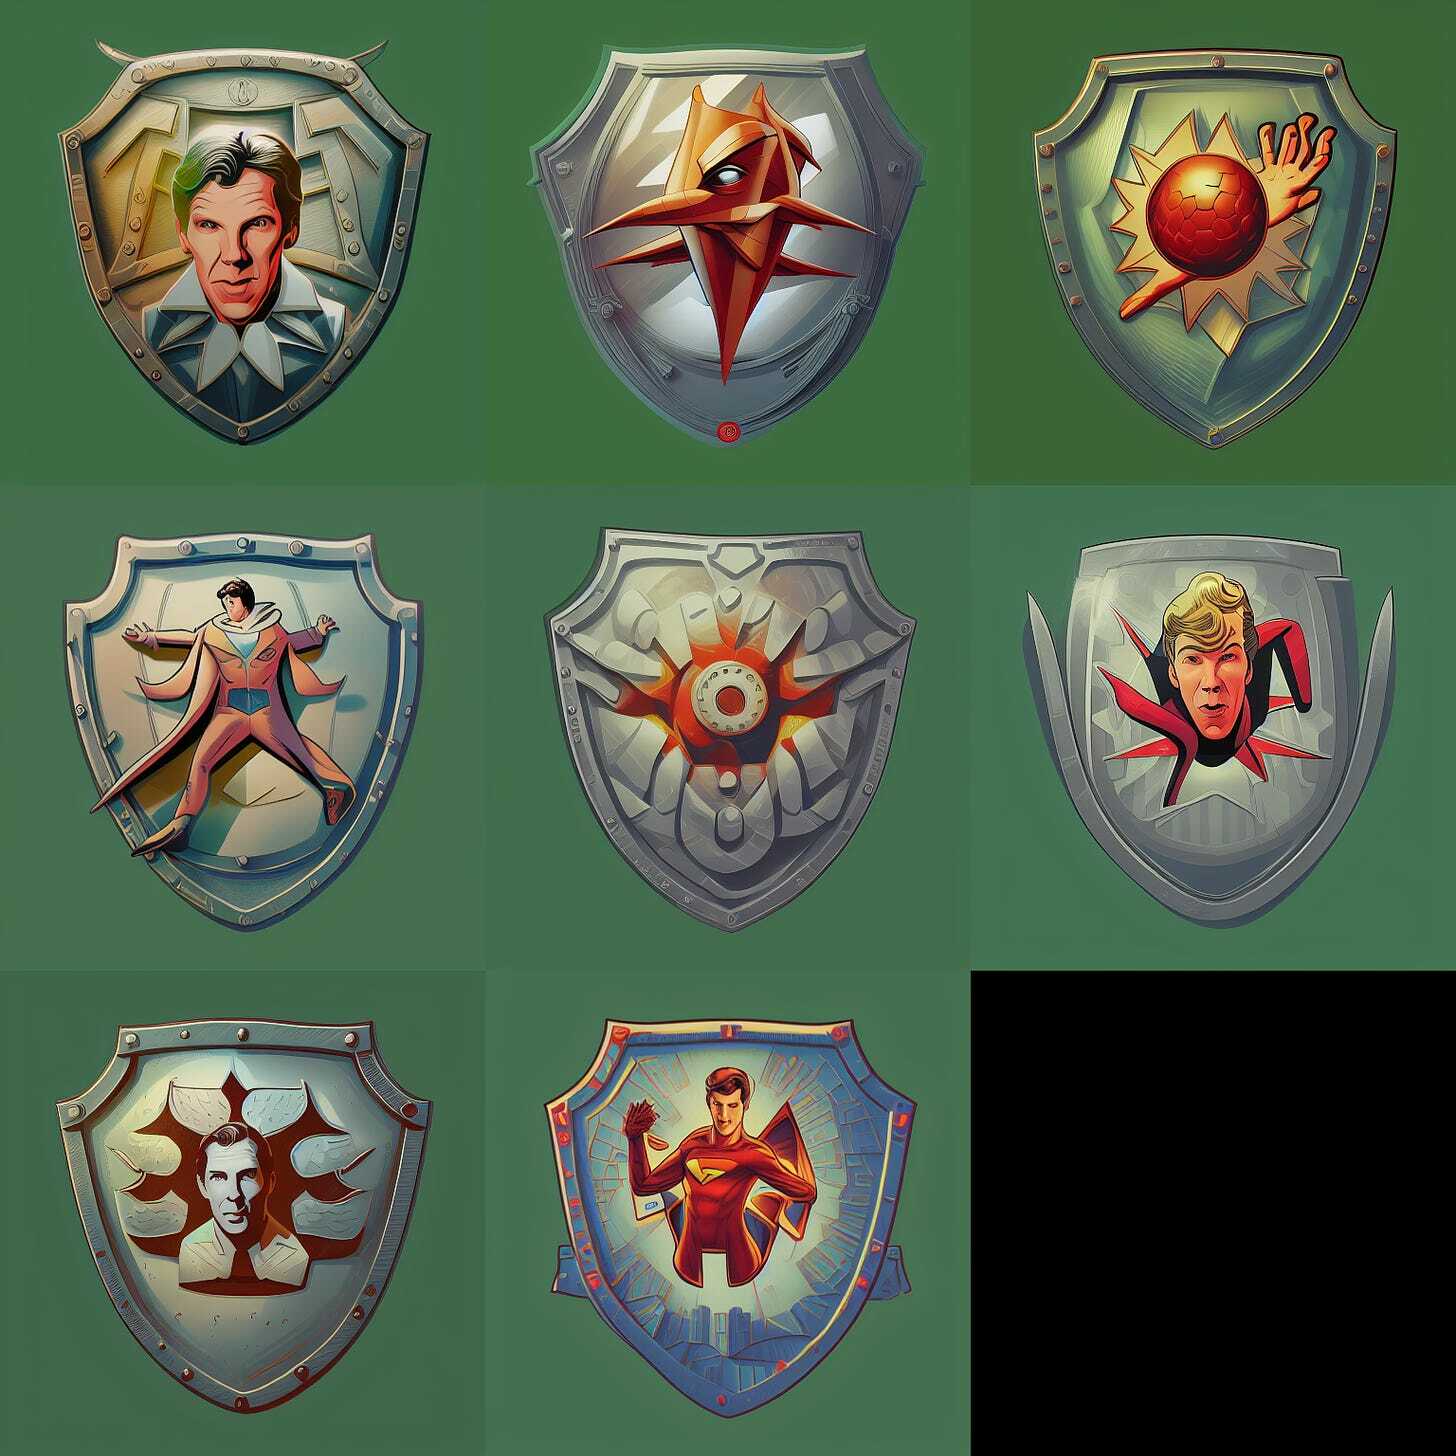
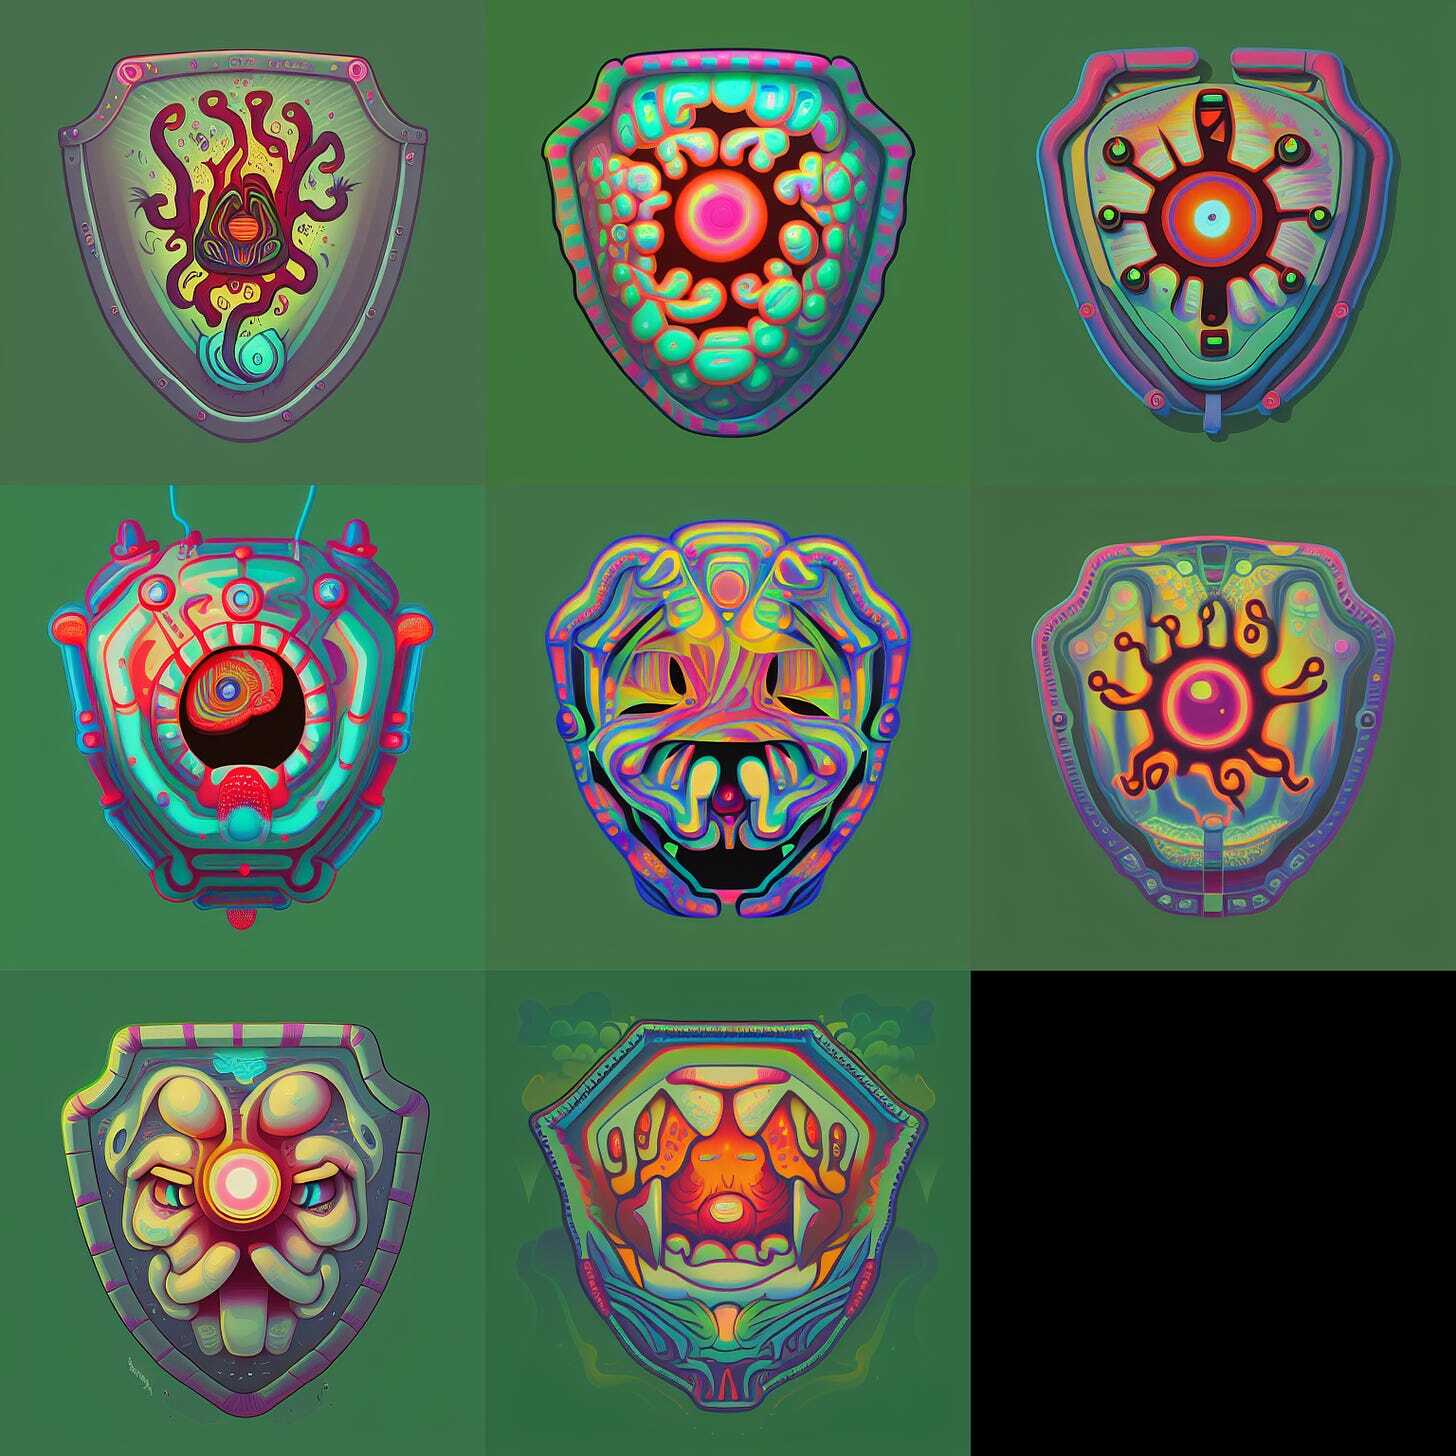
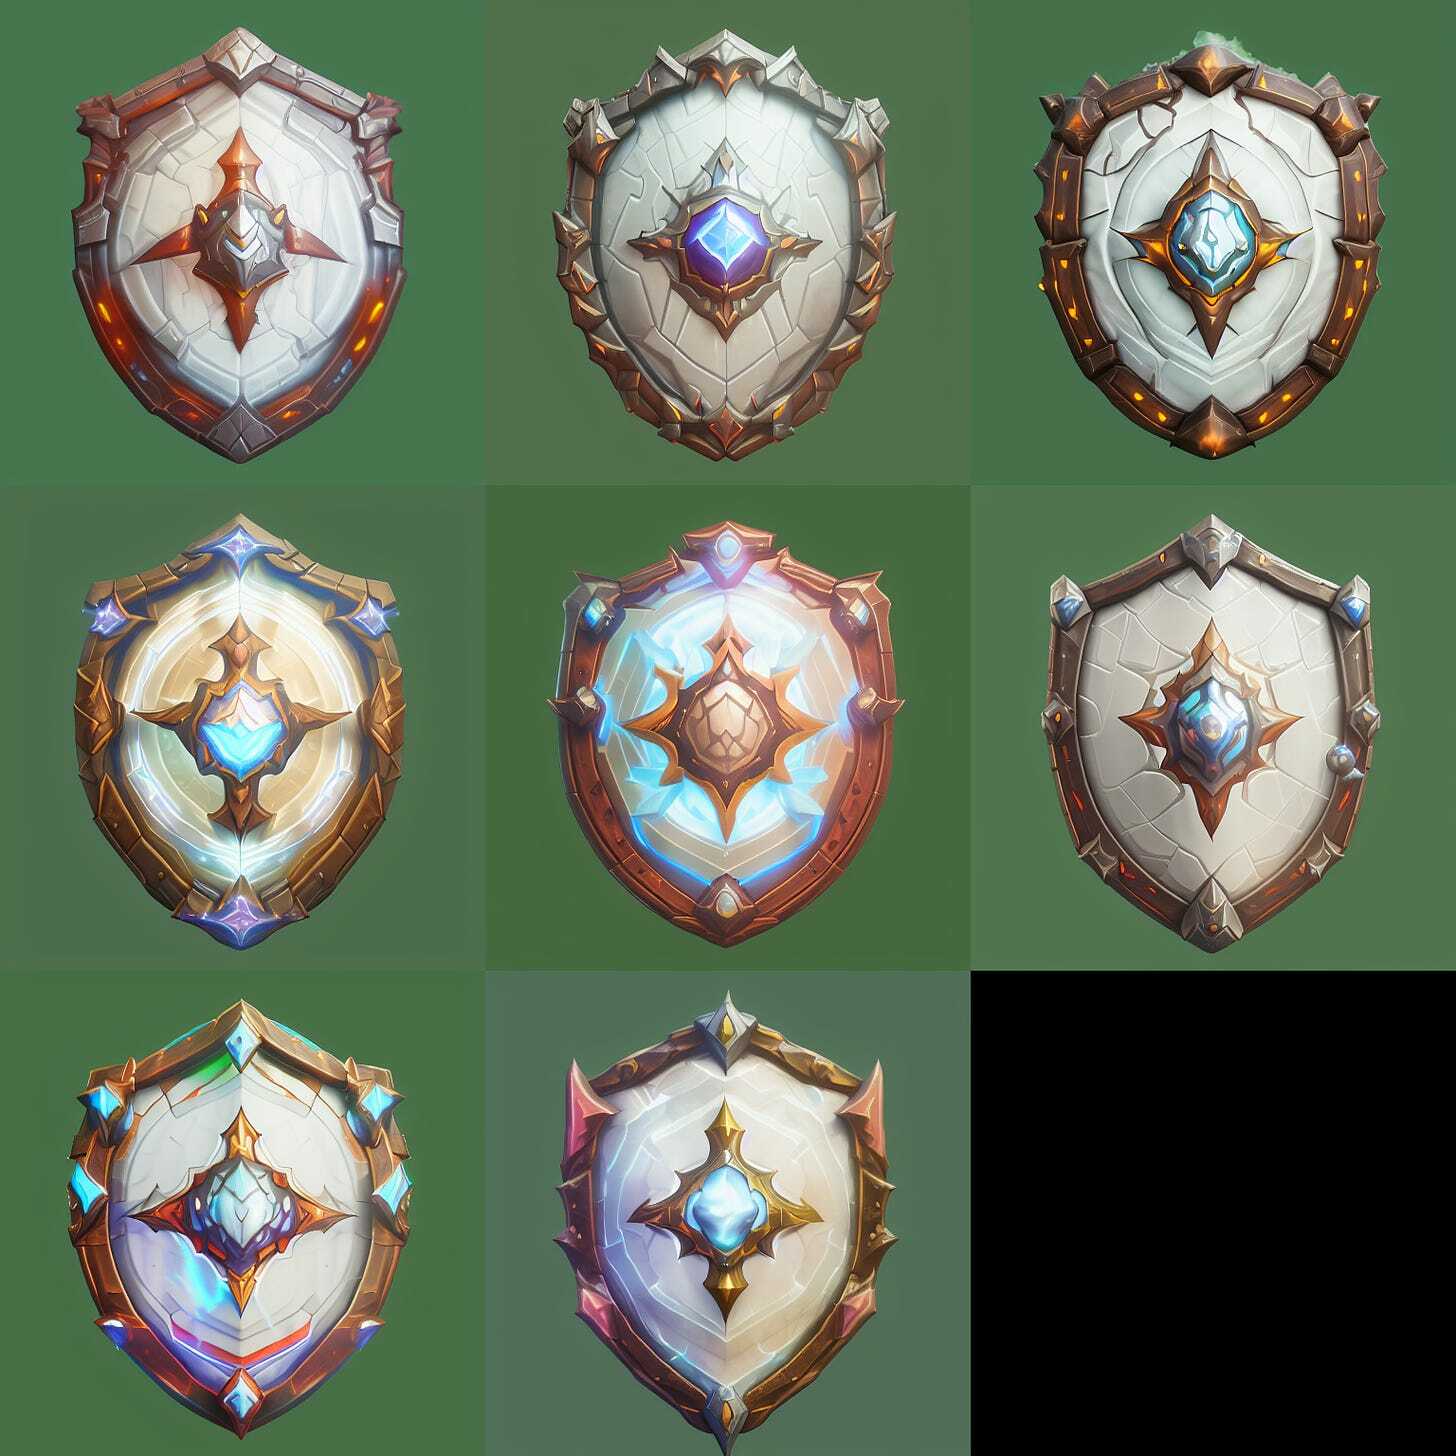
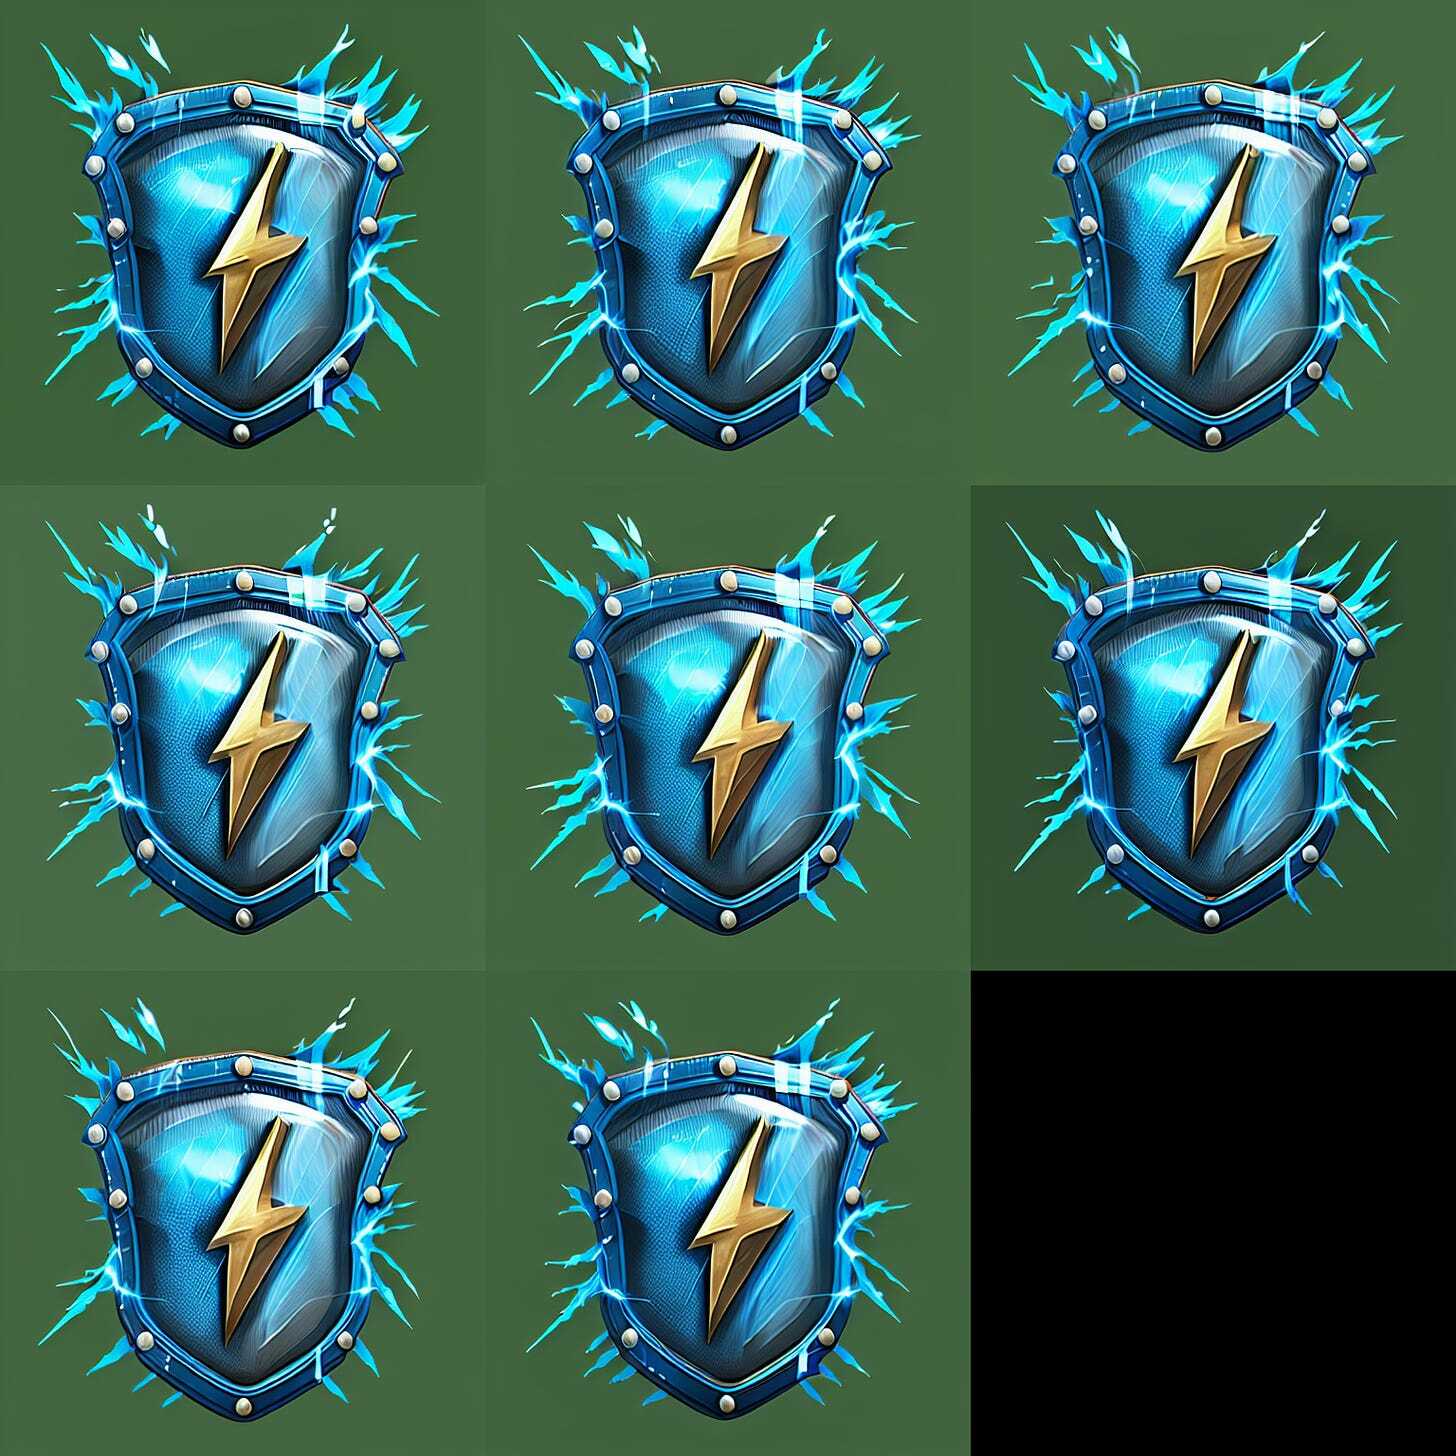
- This is already promising. Another way to generate interesting results is by pasting one of the captions I used for training data. So let’s try: a blue loeb bnha with a lightning bolt sticking out of it's center and rivets around it
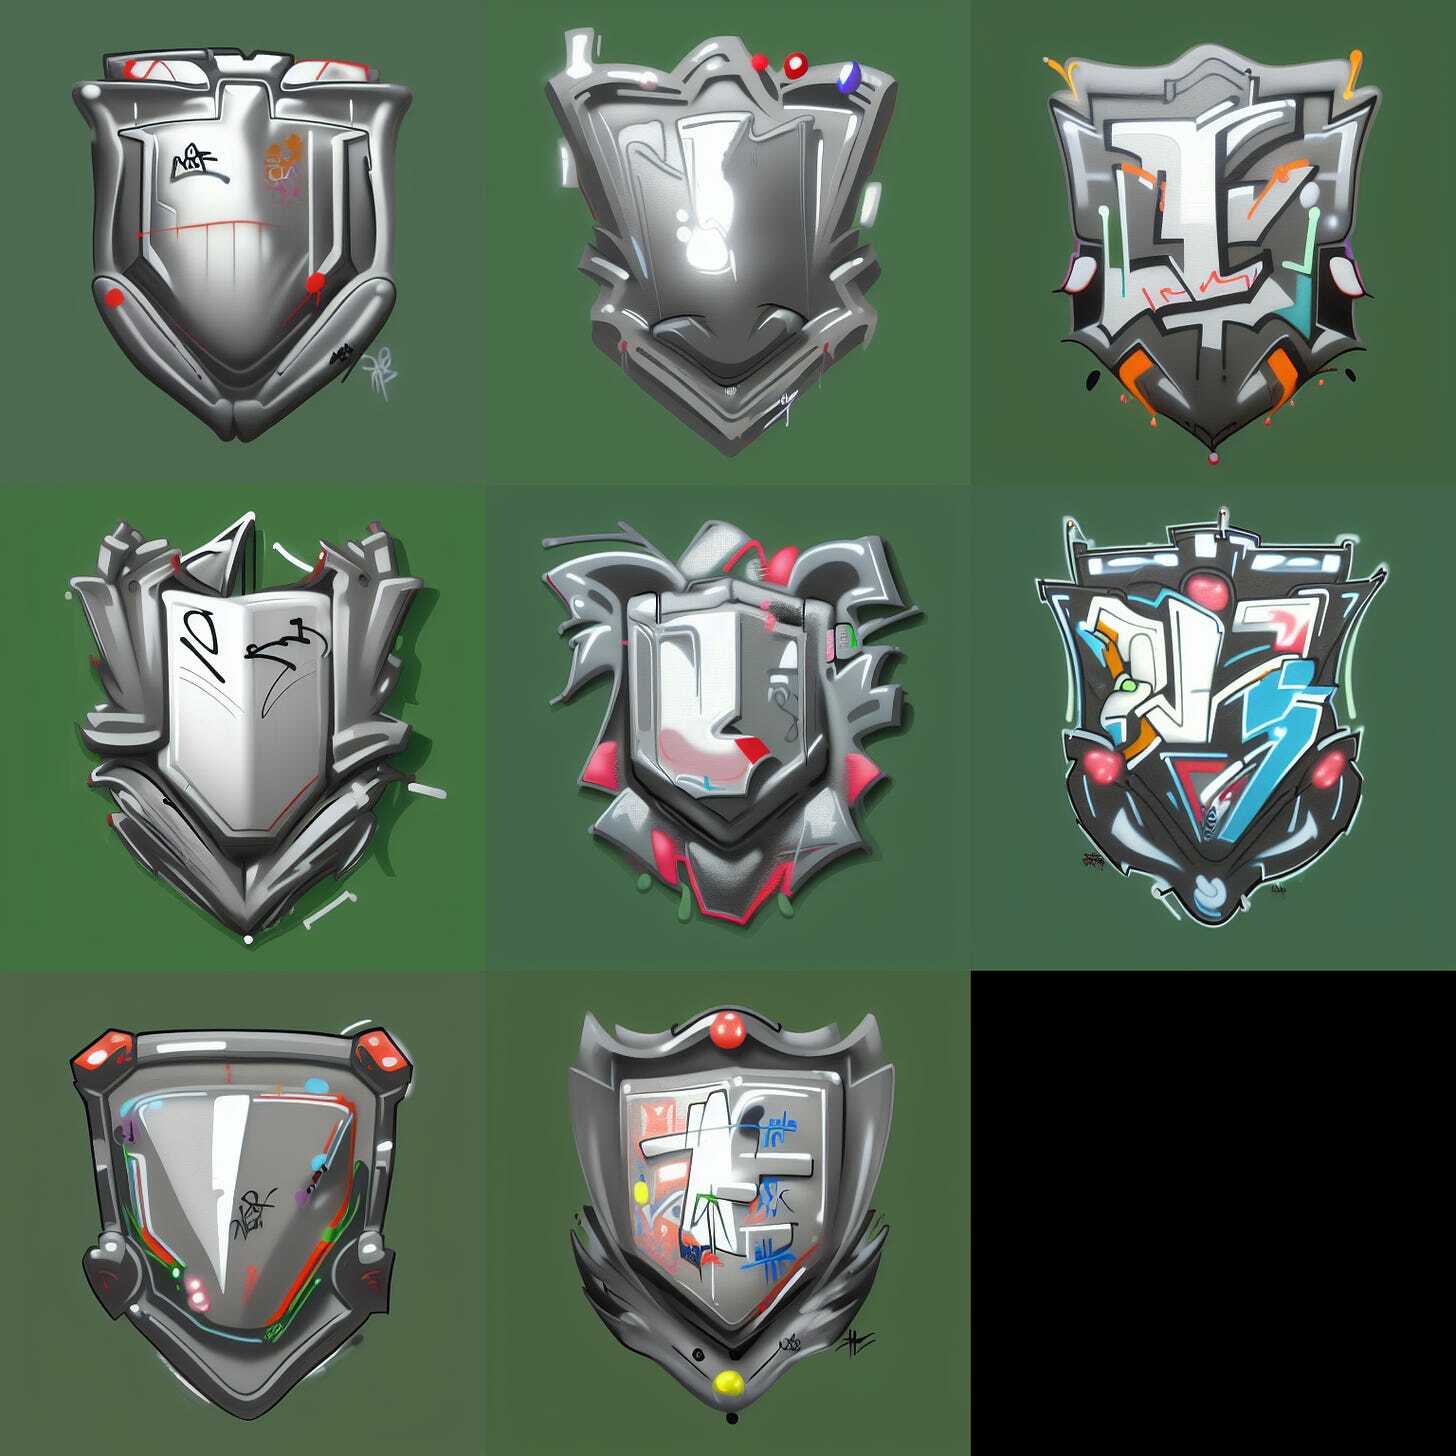
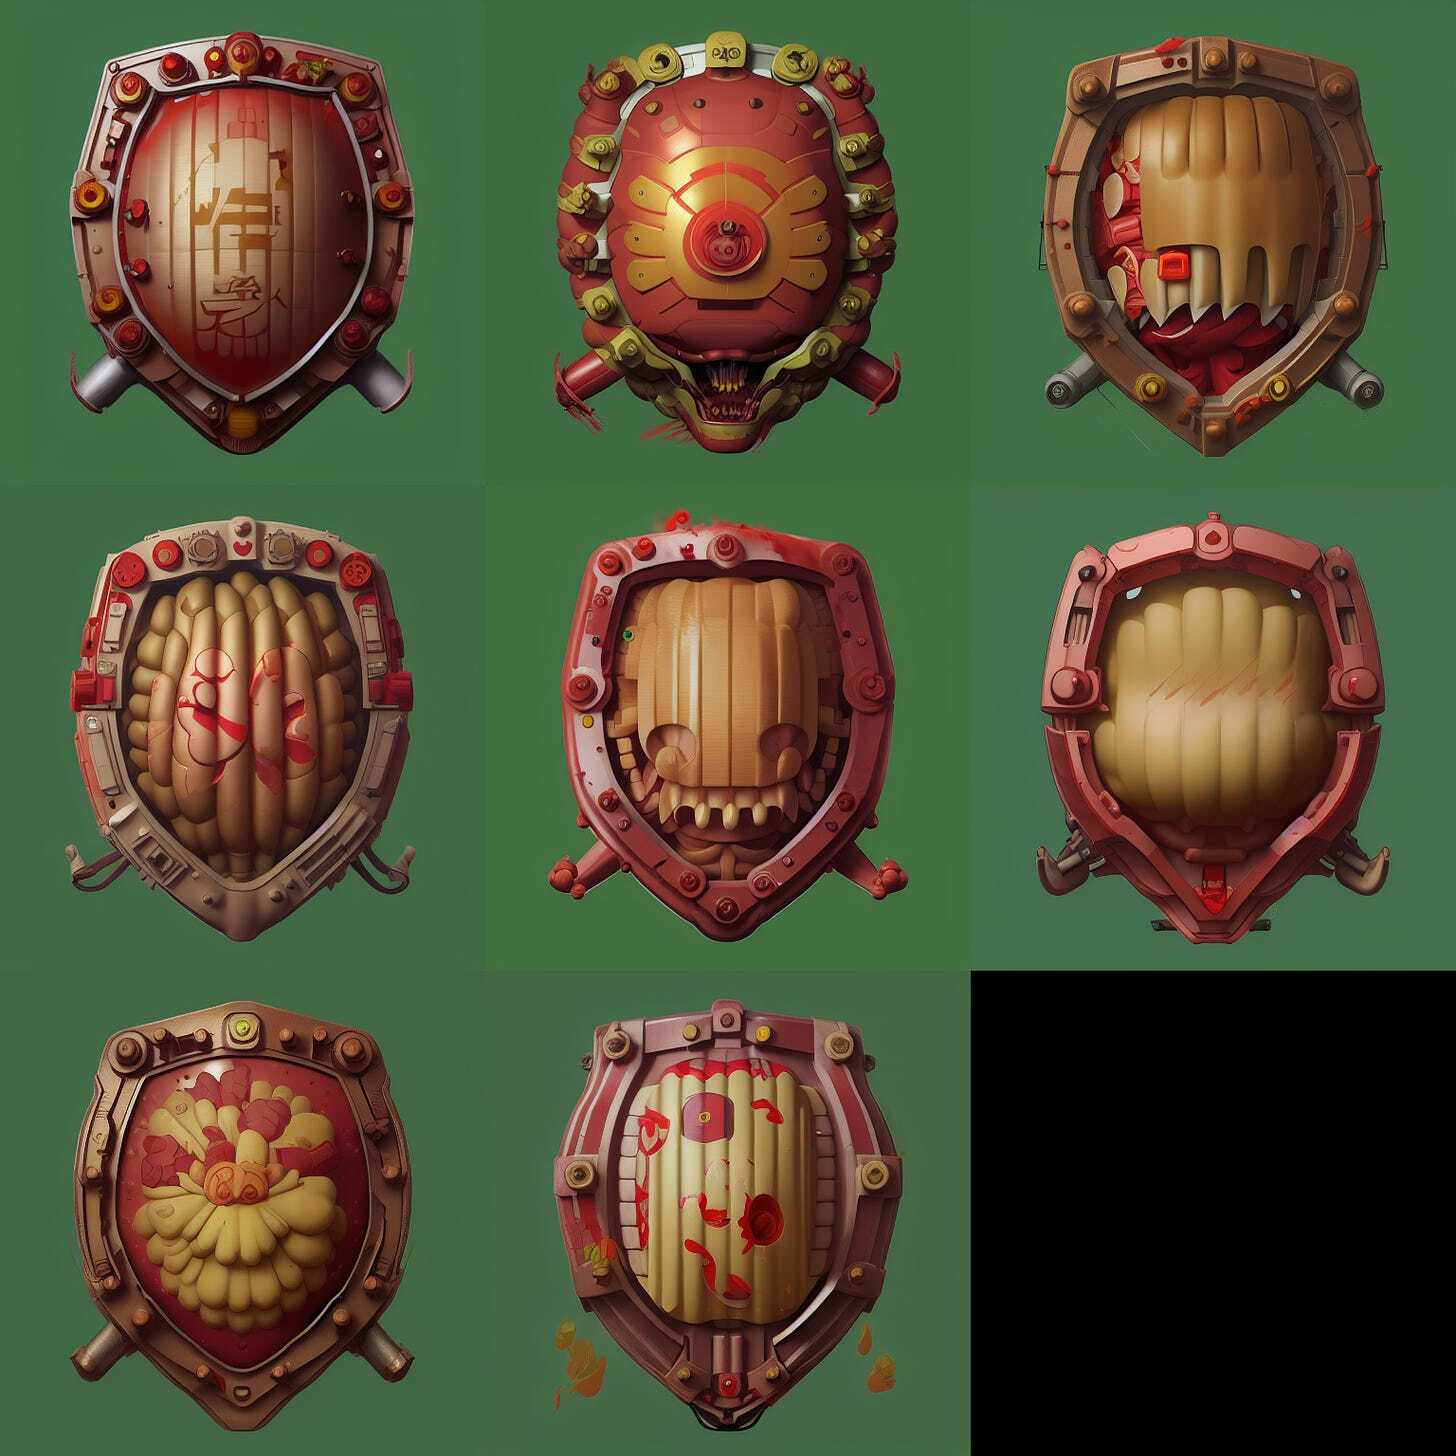
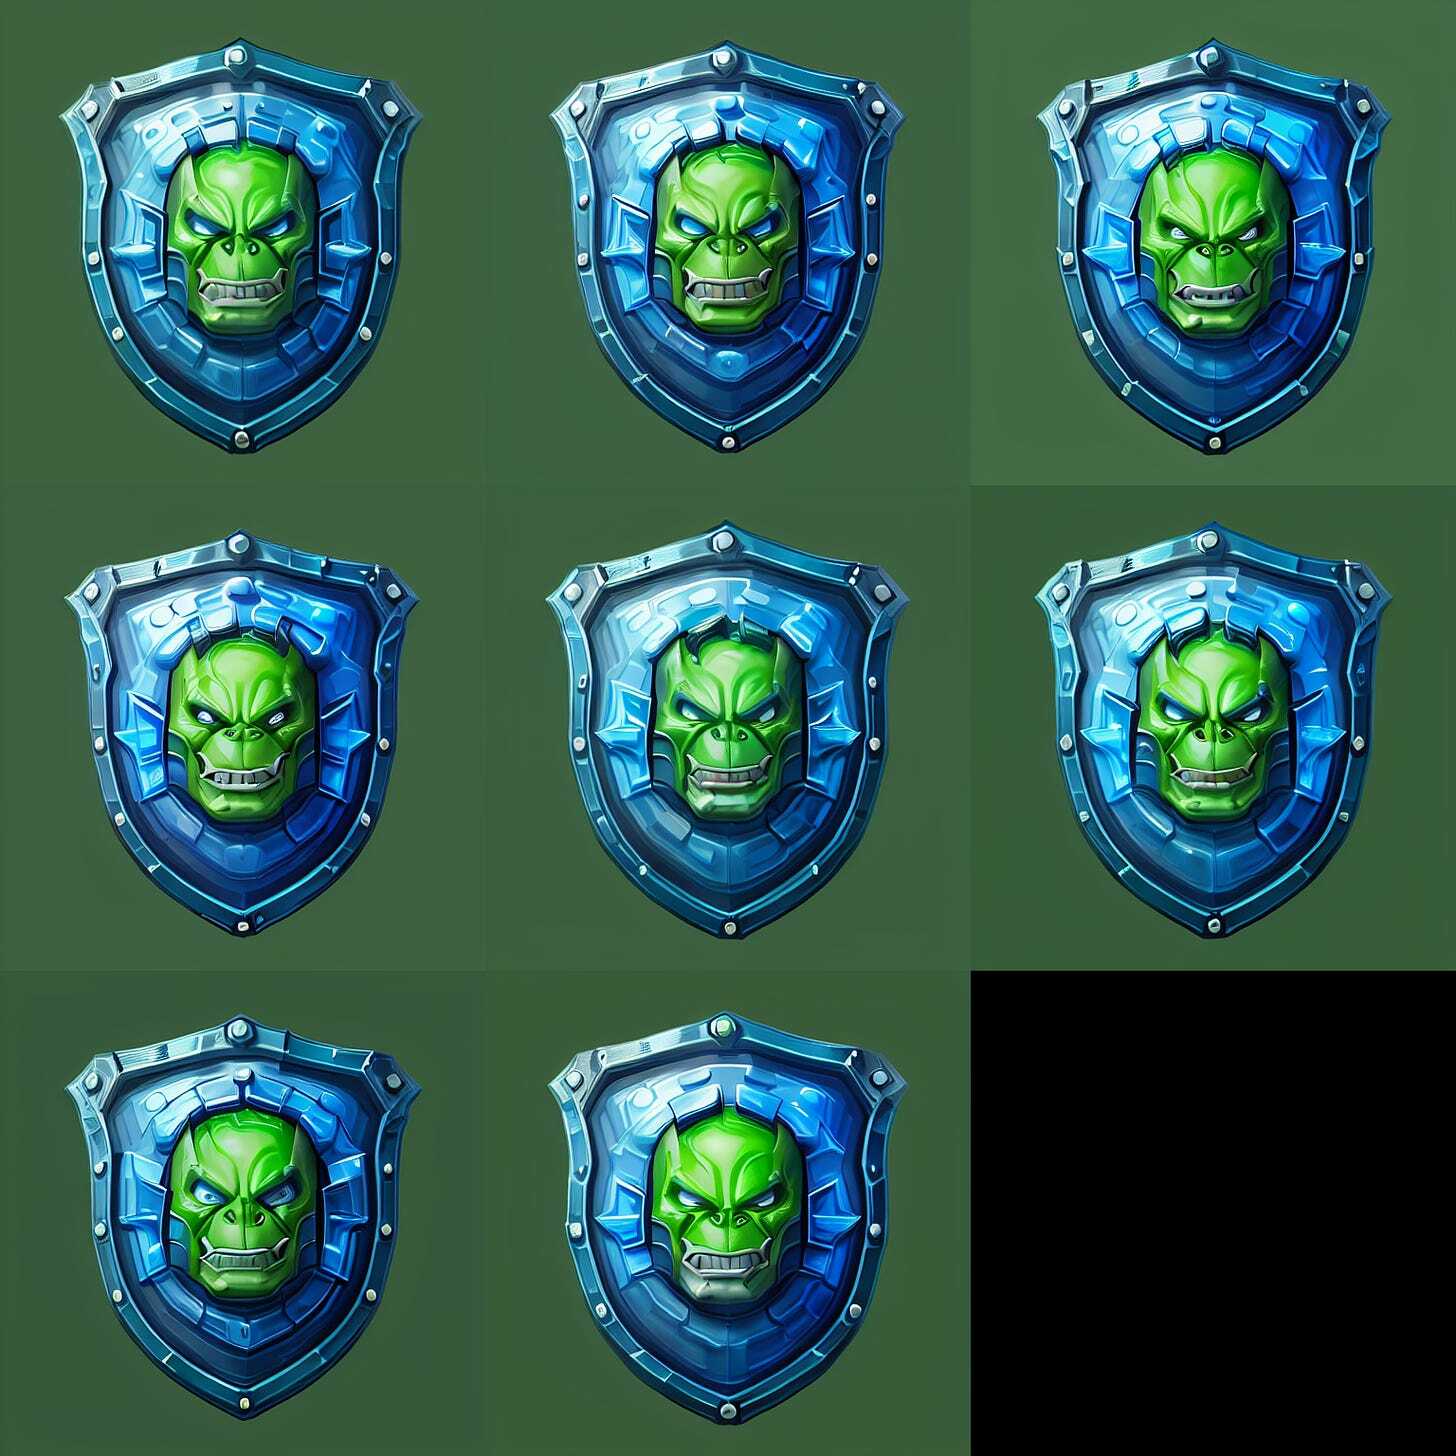
- Let’s try to get a bit creative: a blue loeb bnha with the face of hulk on it
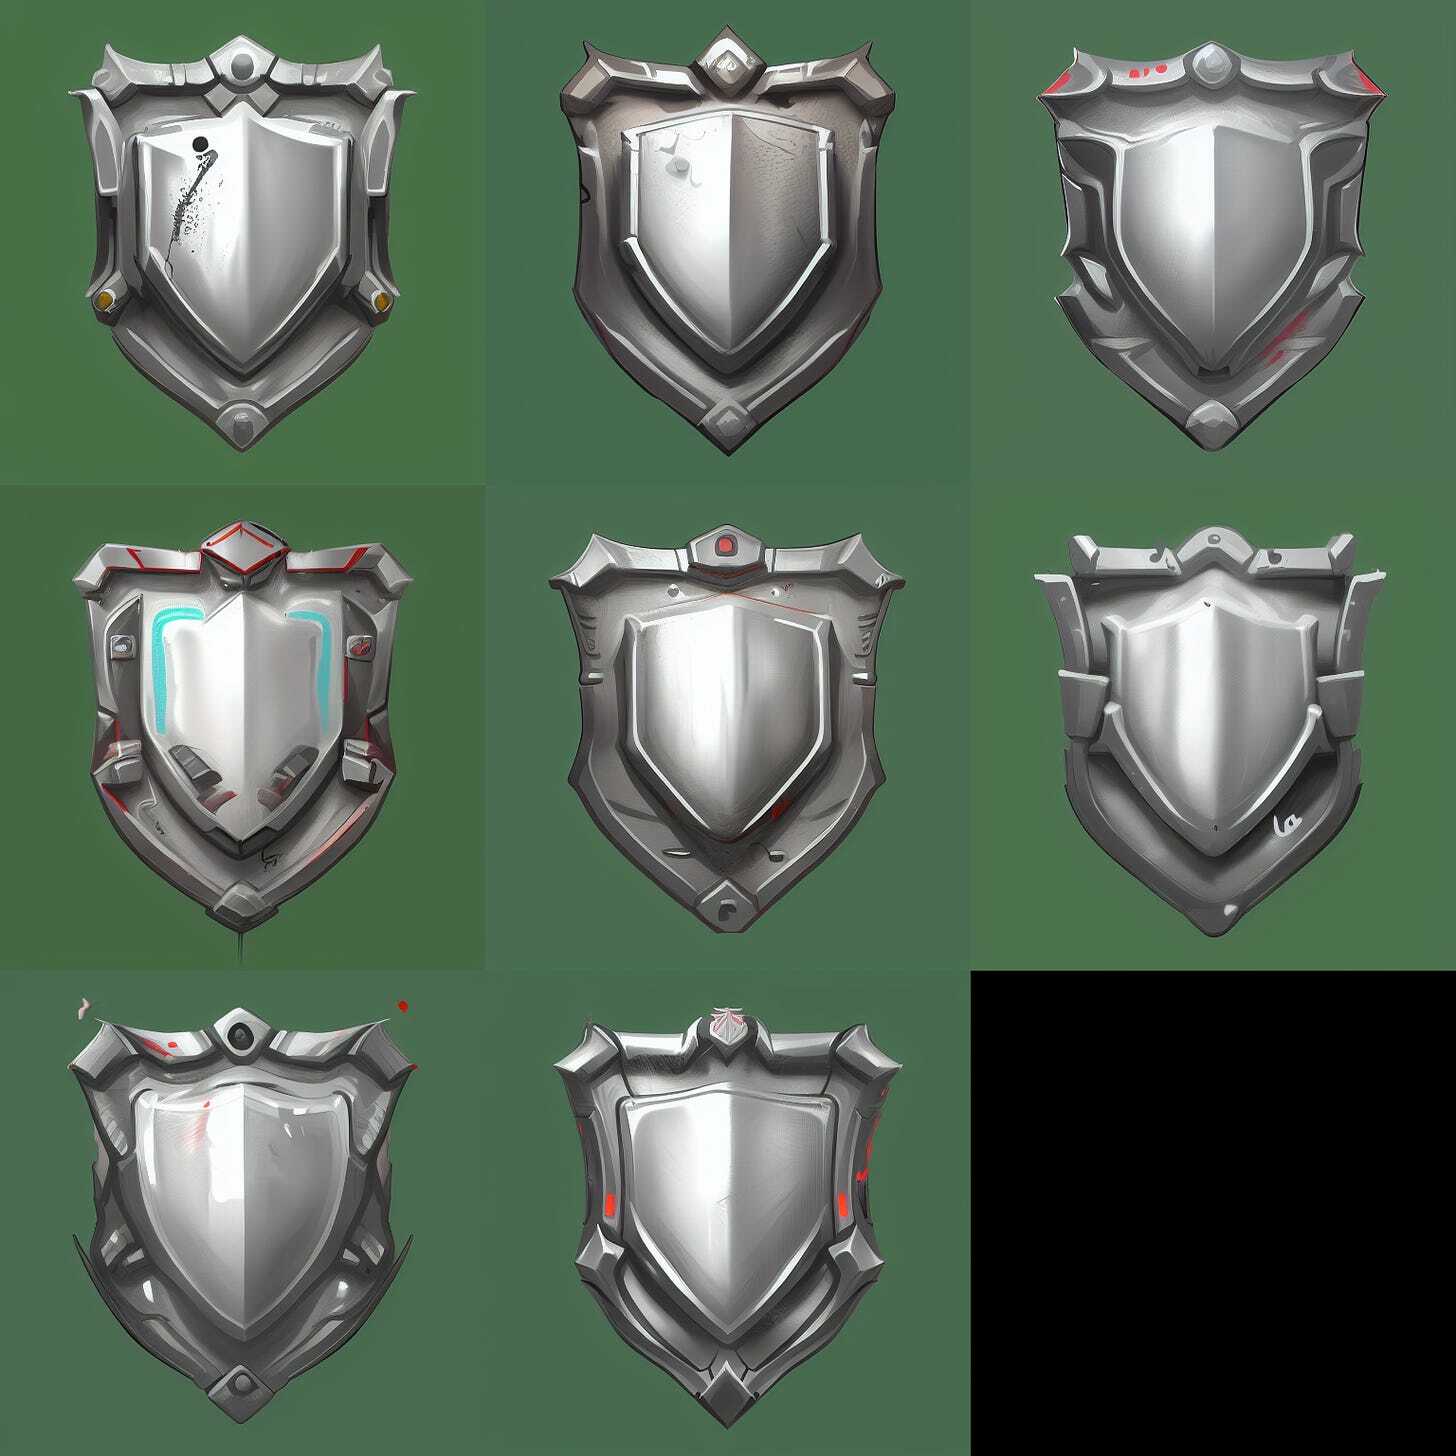
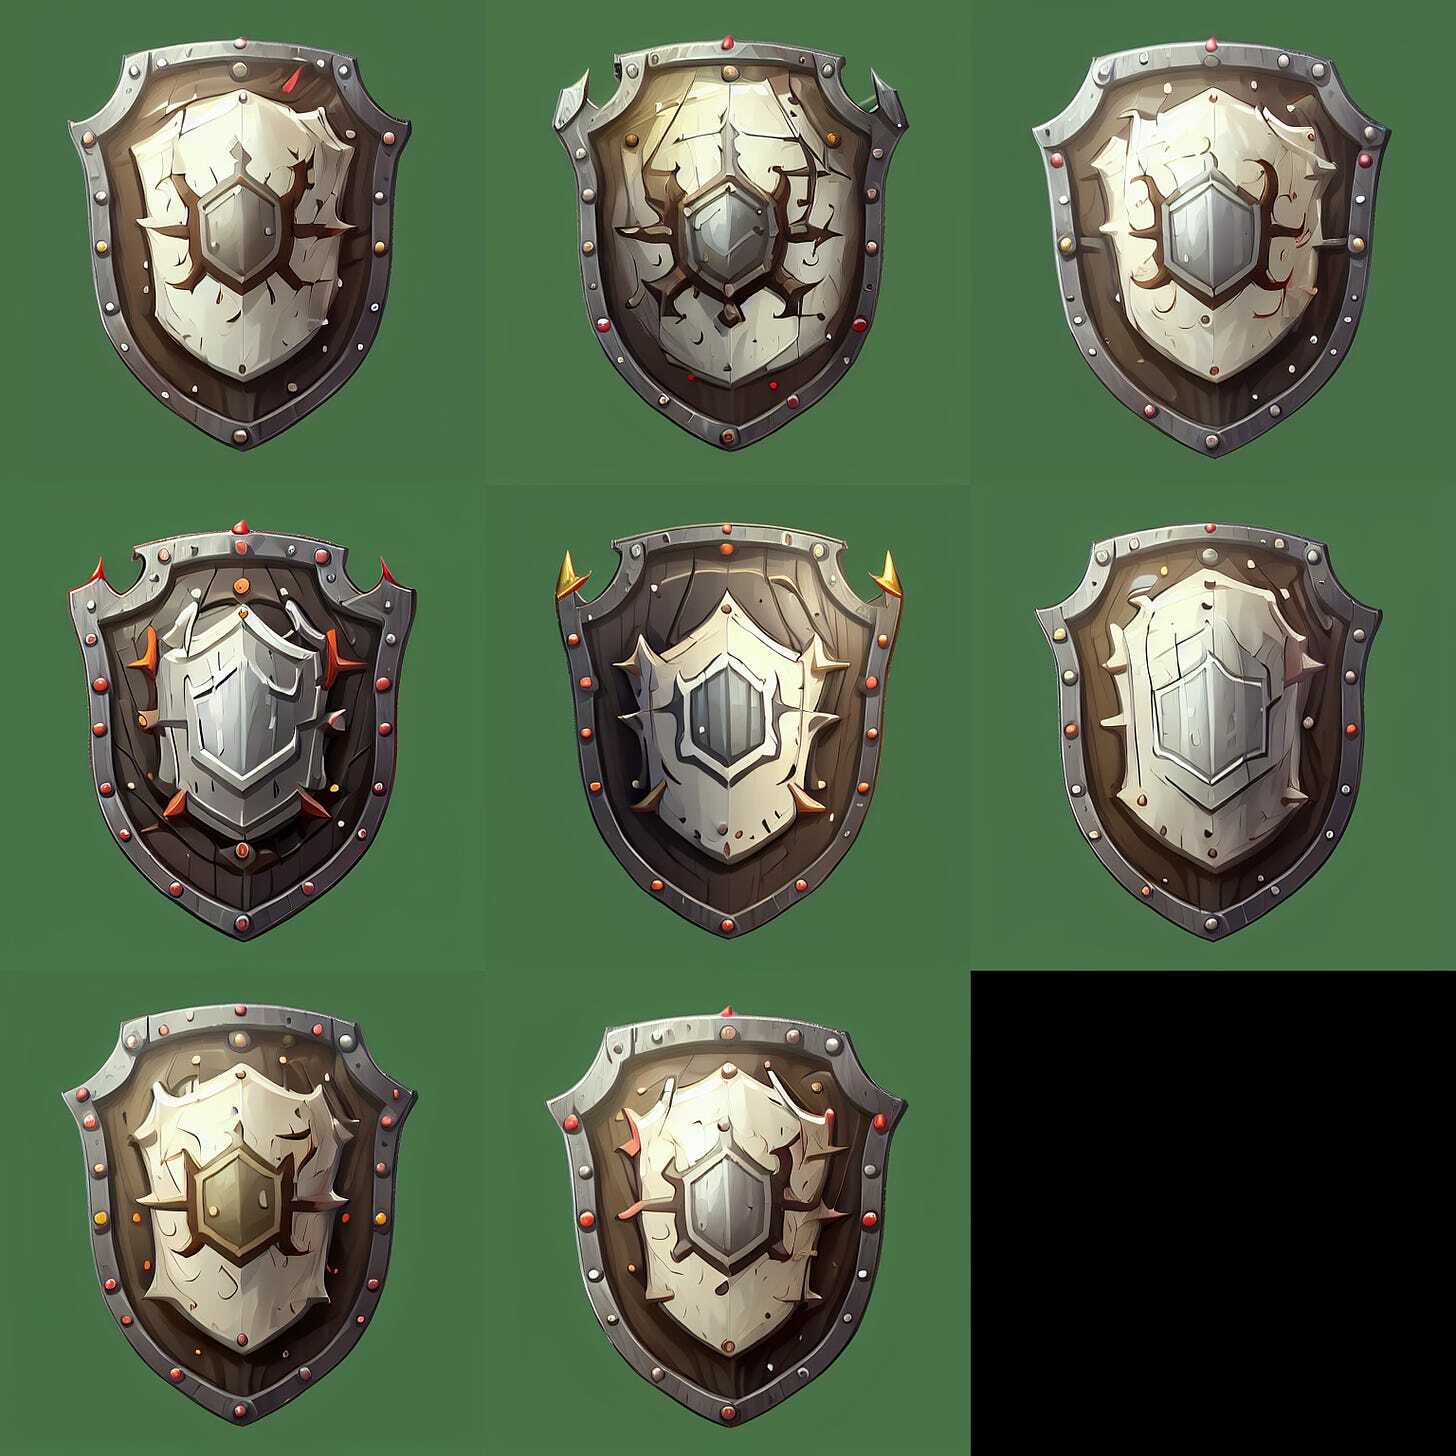
- My model is overtrained, so I pruned the ckpt after the first epoch, loaded it, and tried several of the same prompts. I think something in-between is optimal in this case
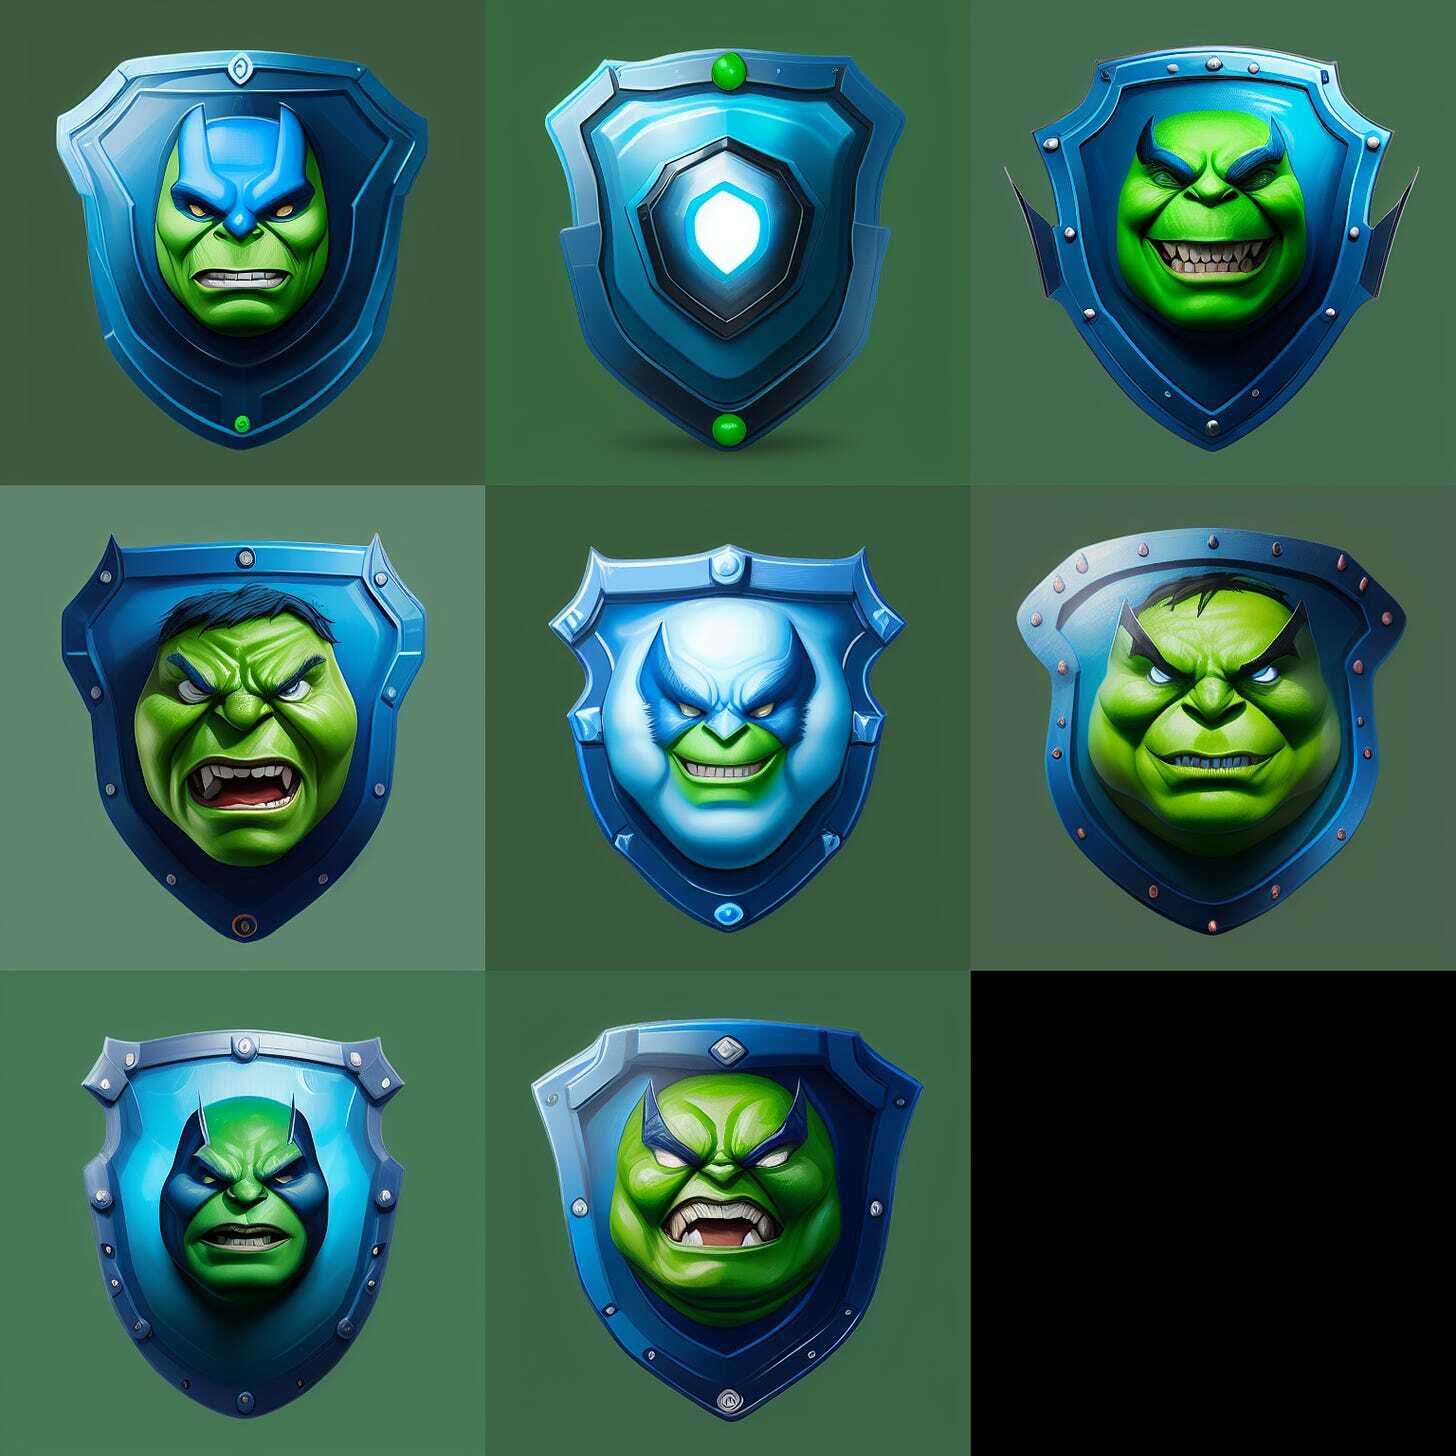
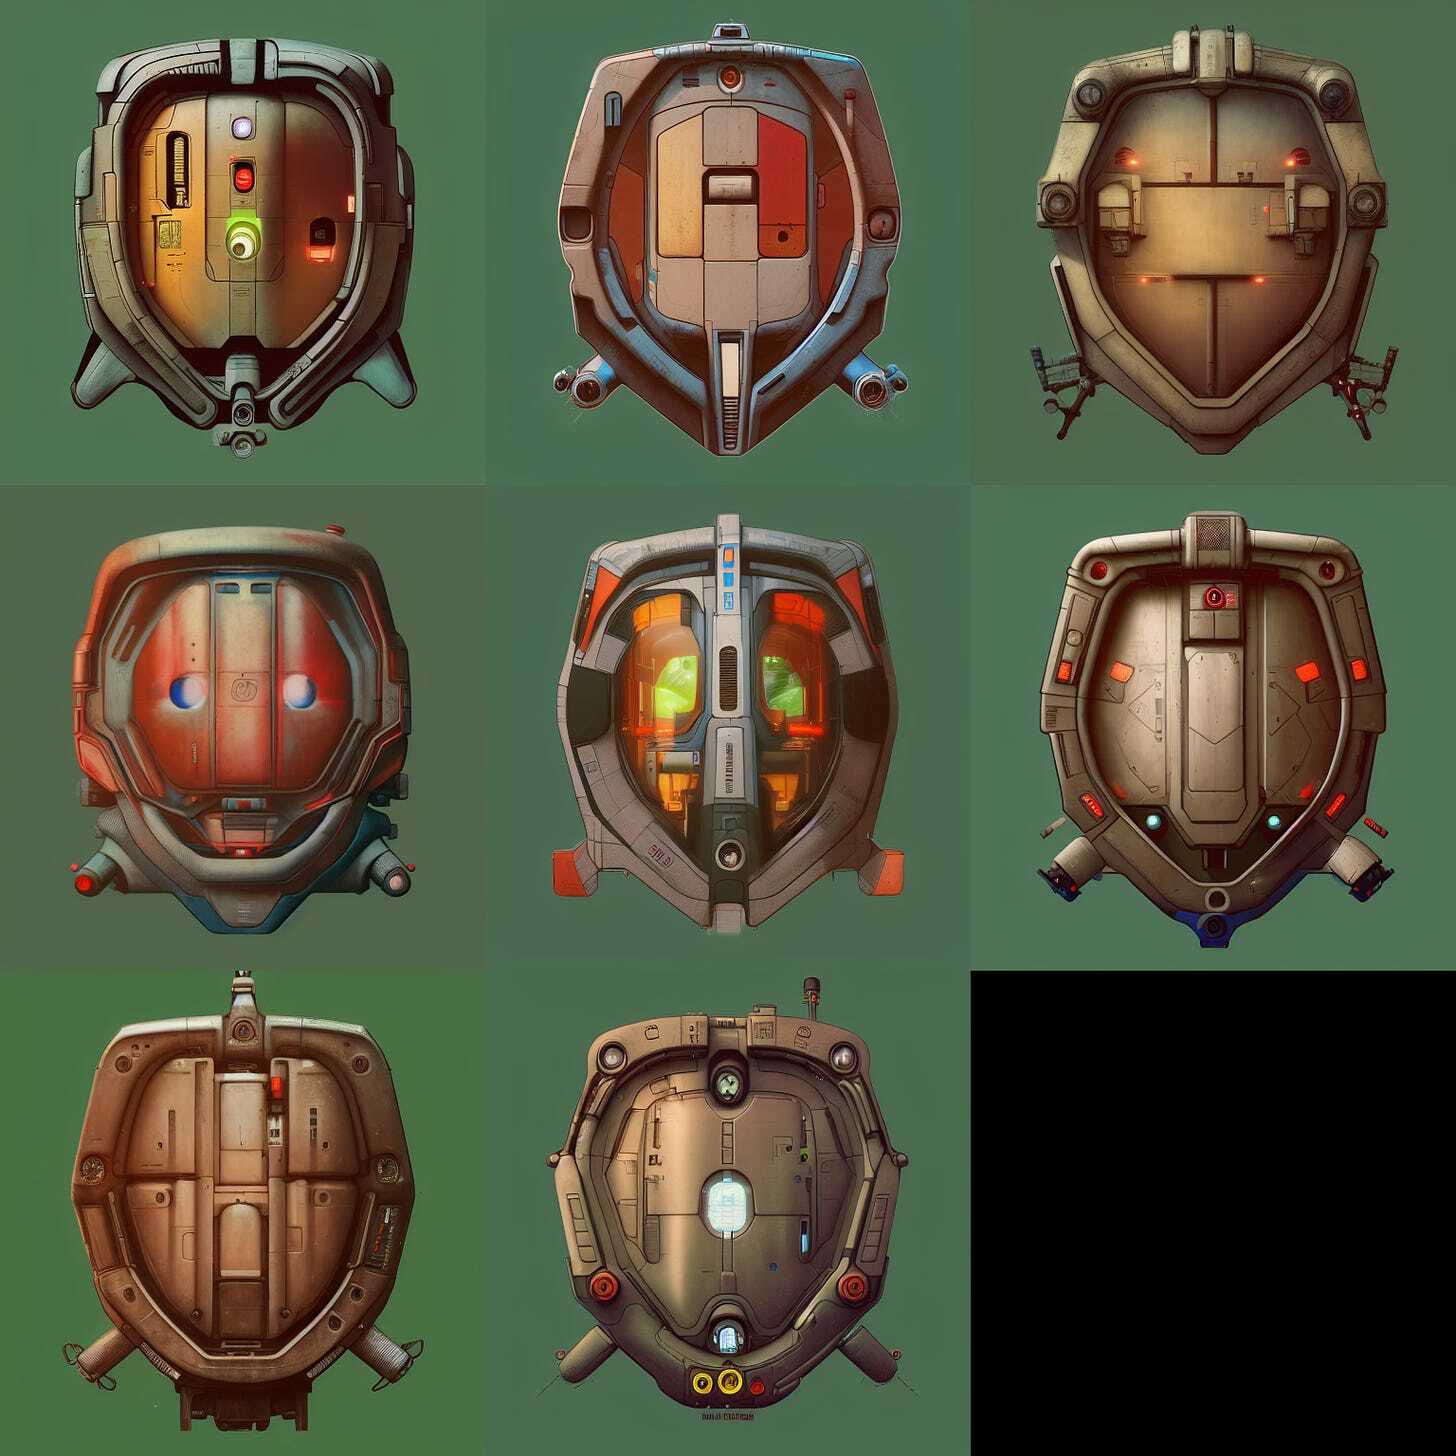
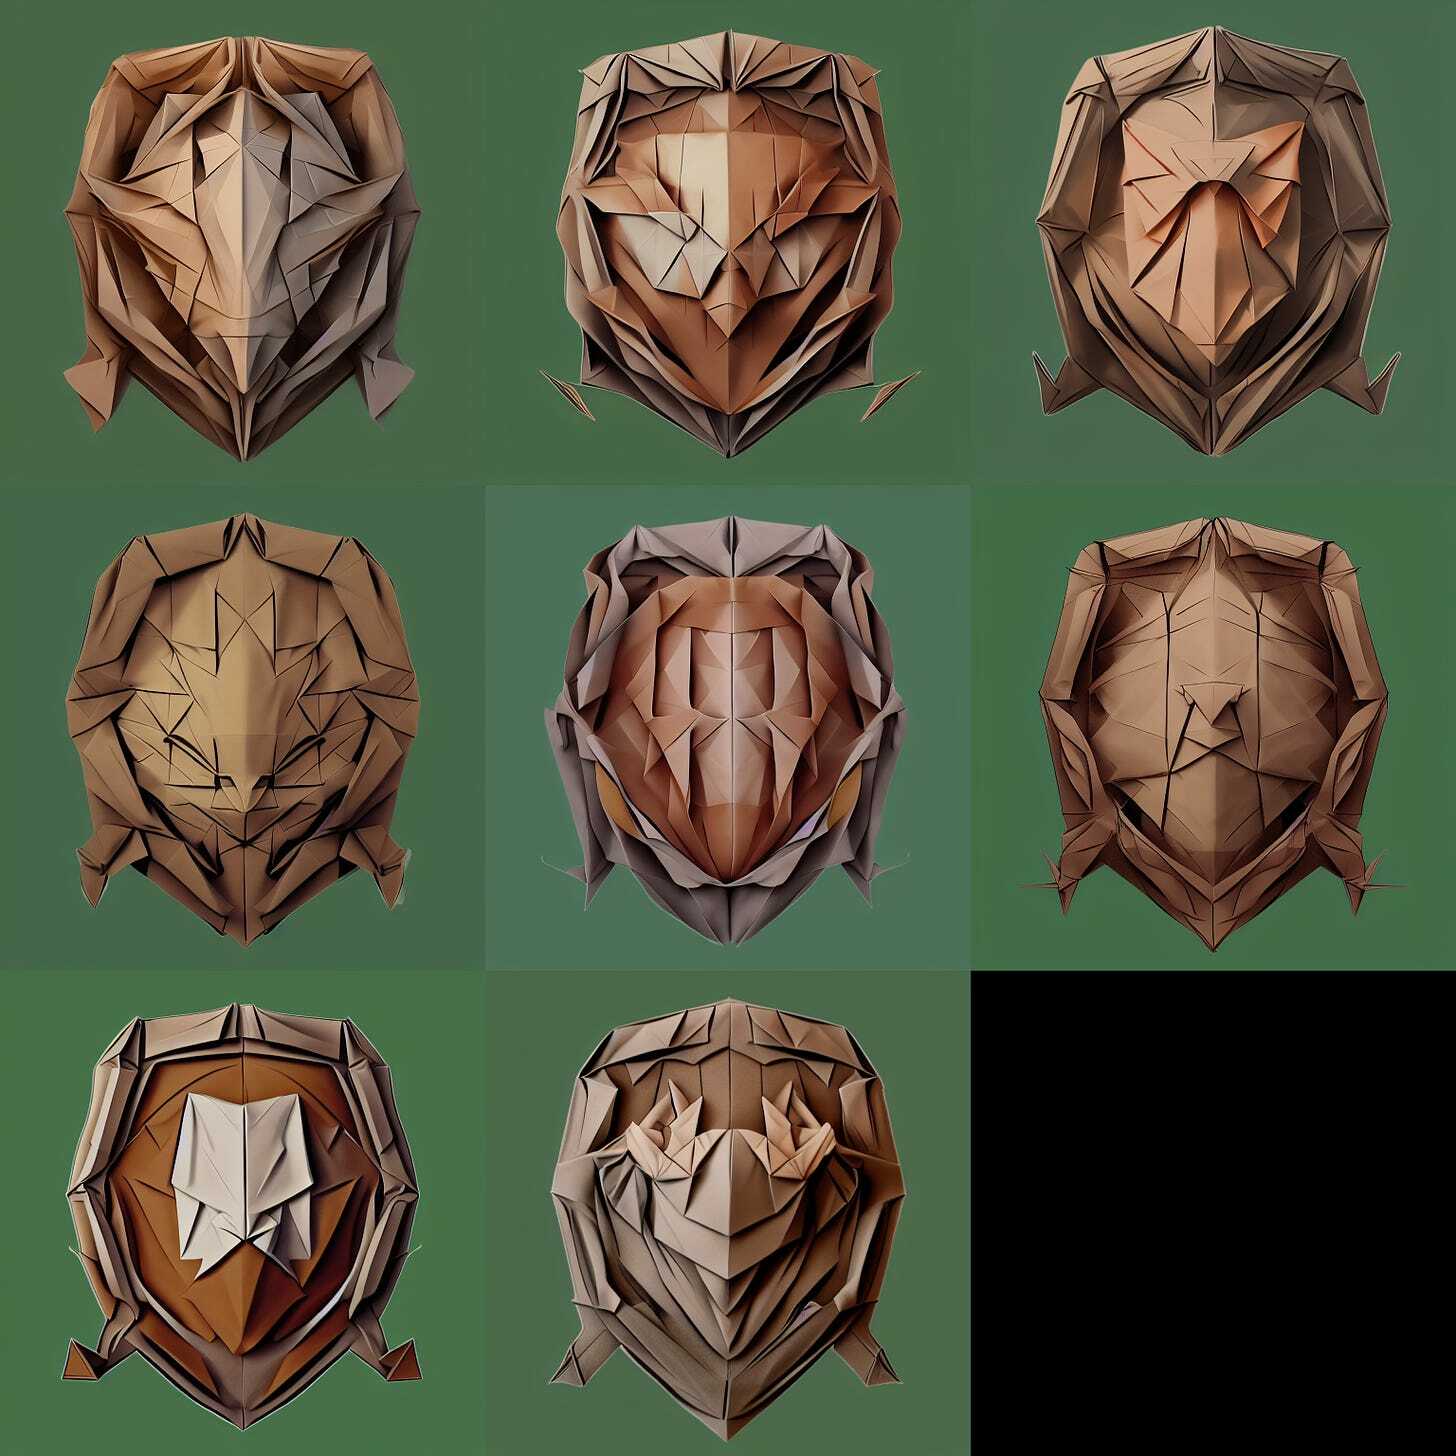
- All future images are generated with the first checkpoint, ie, the one generated after the first epoch.
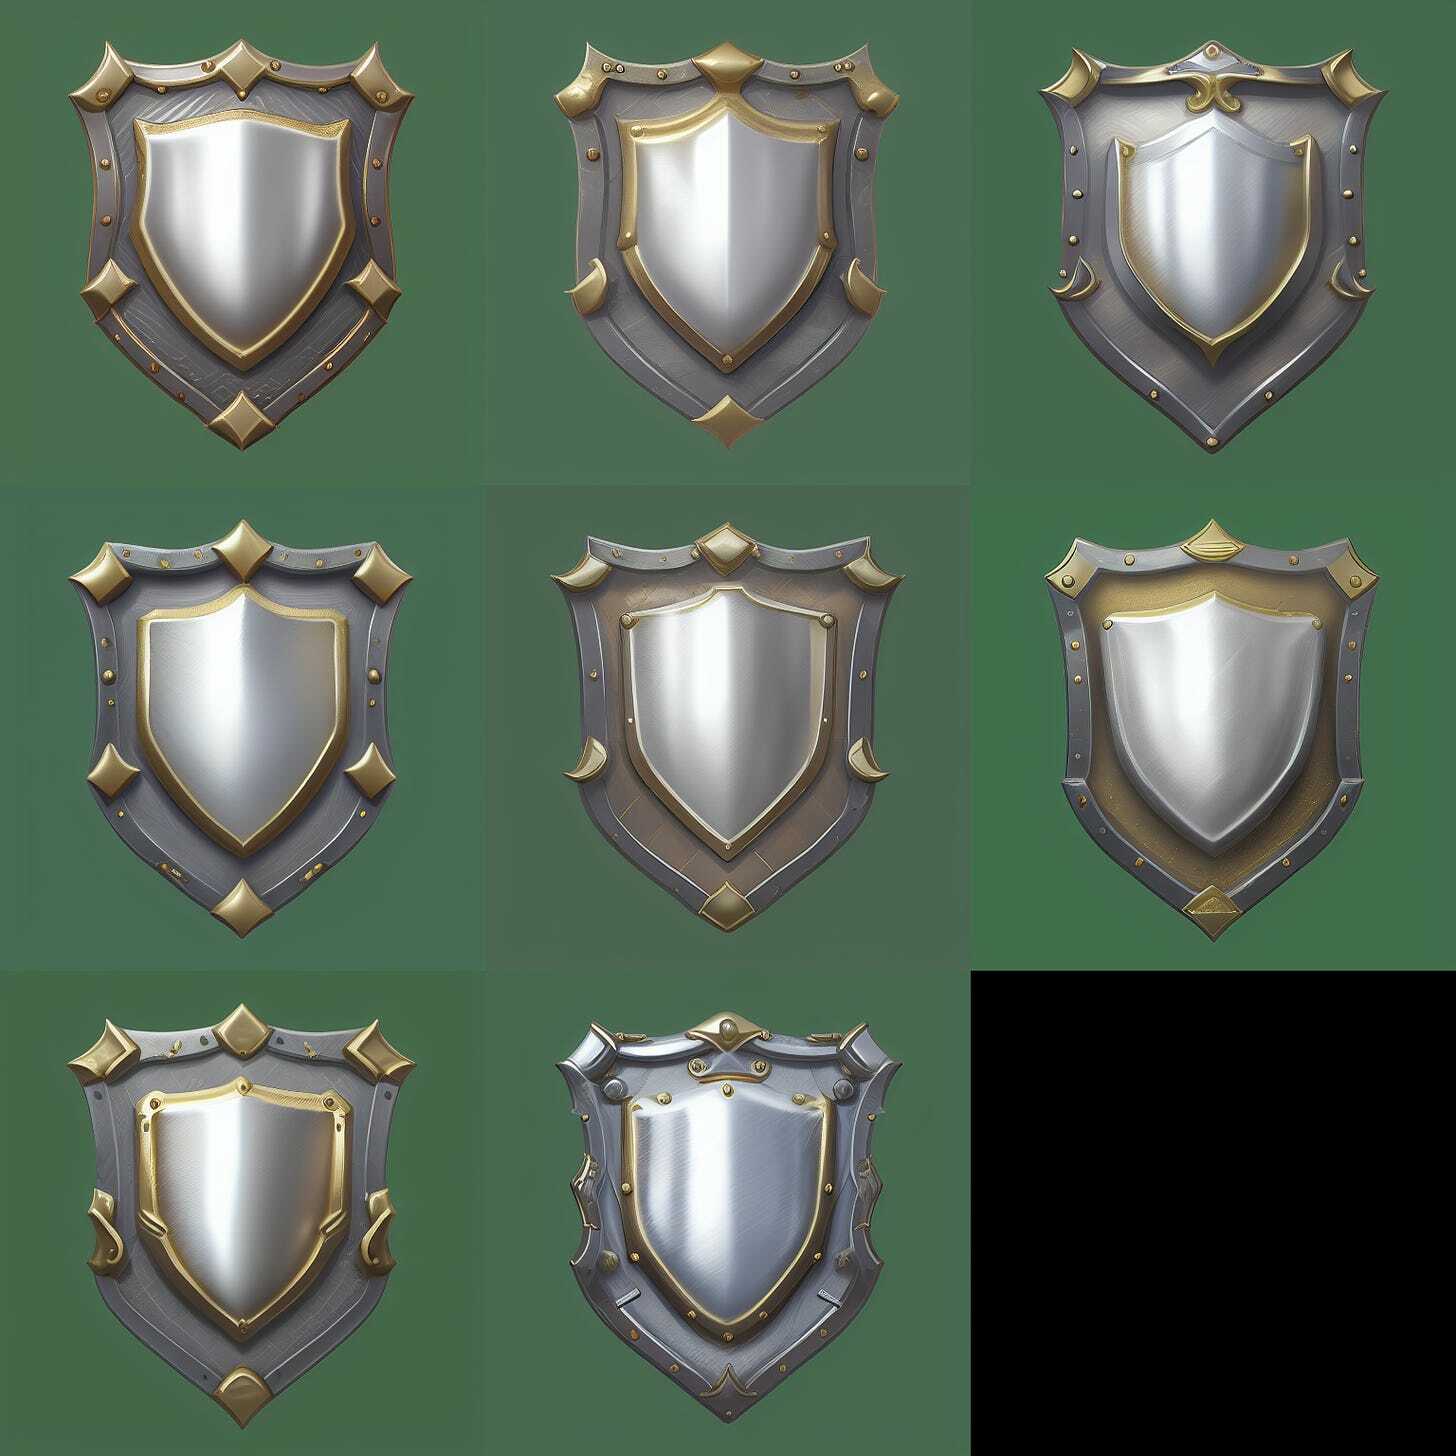
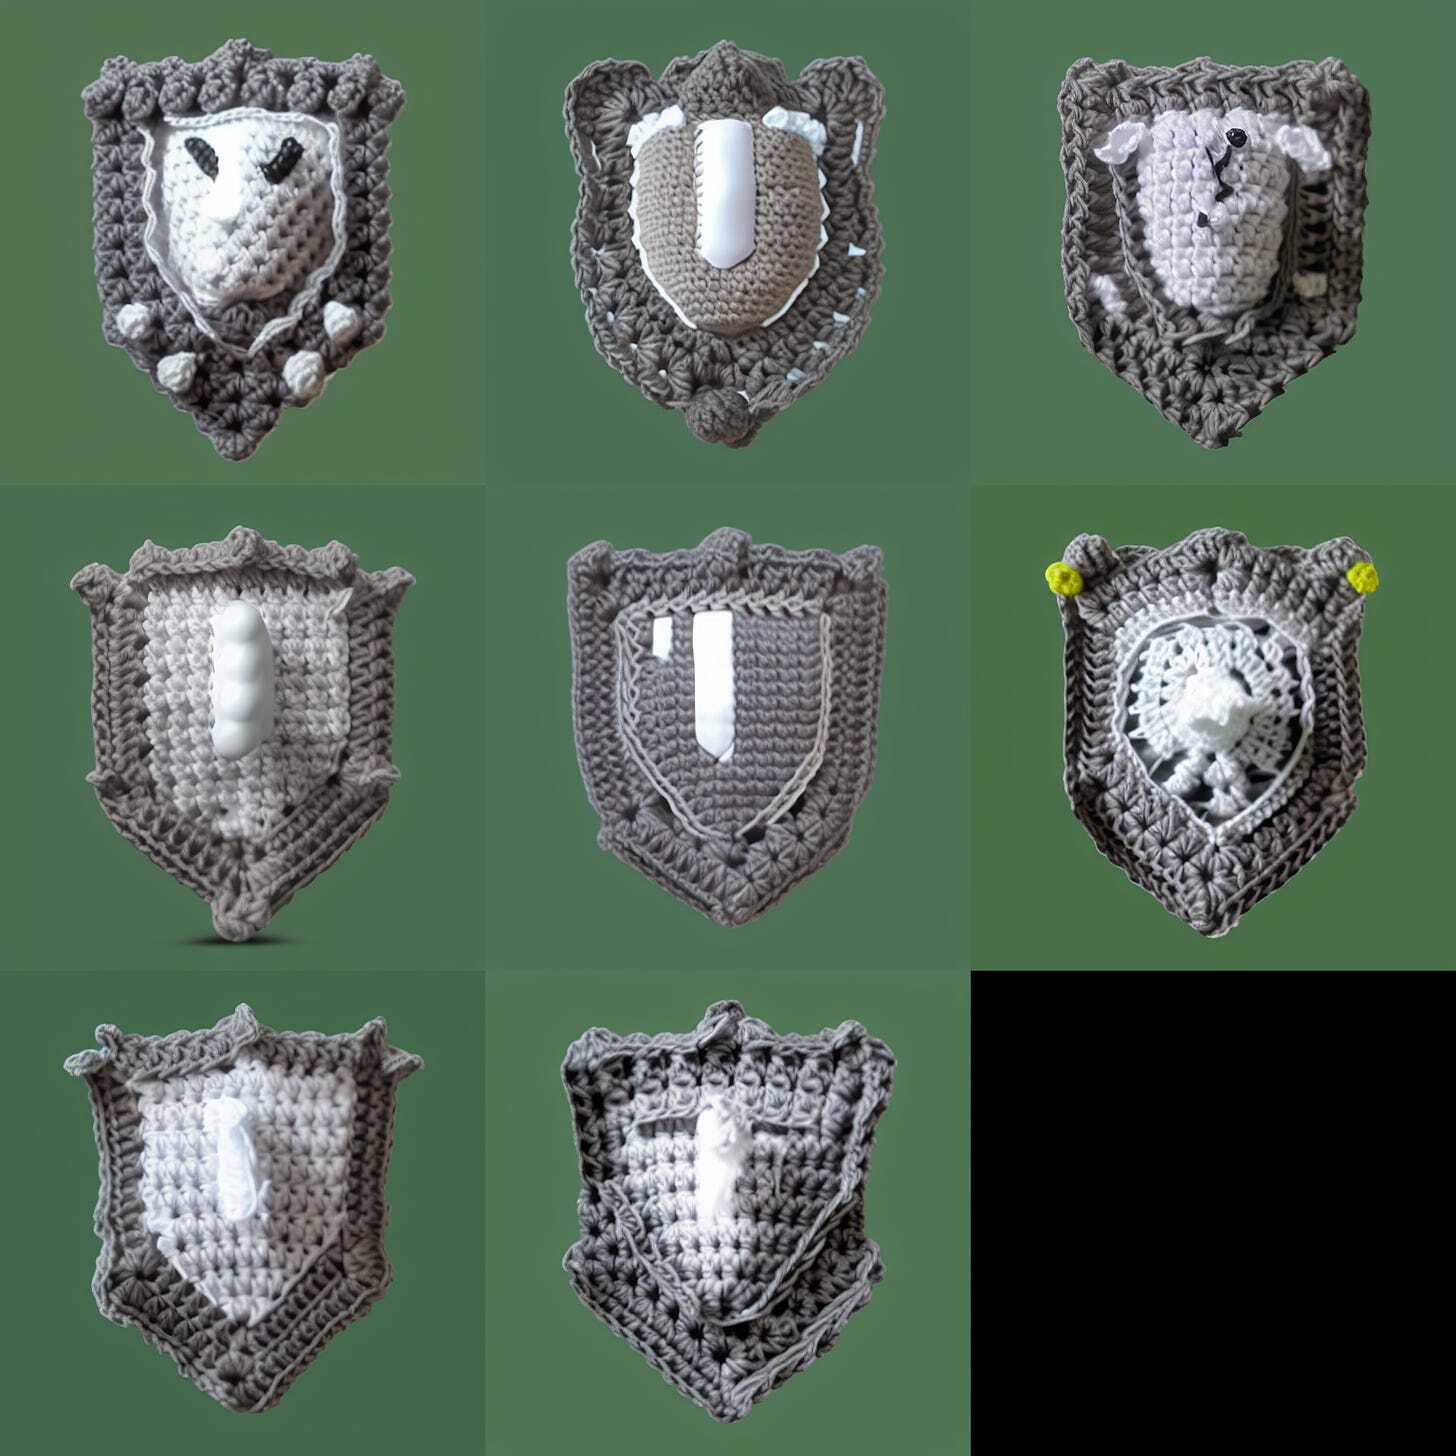
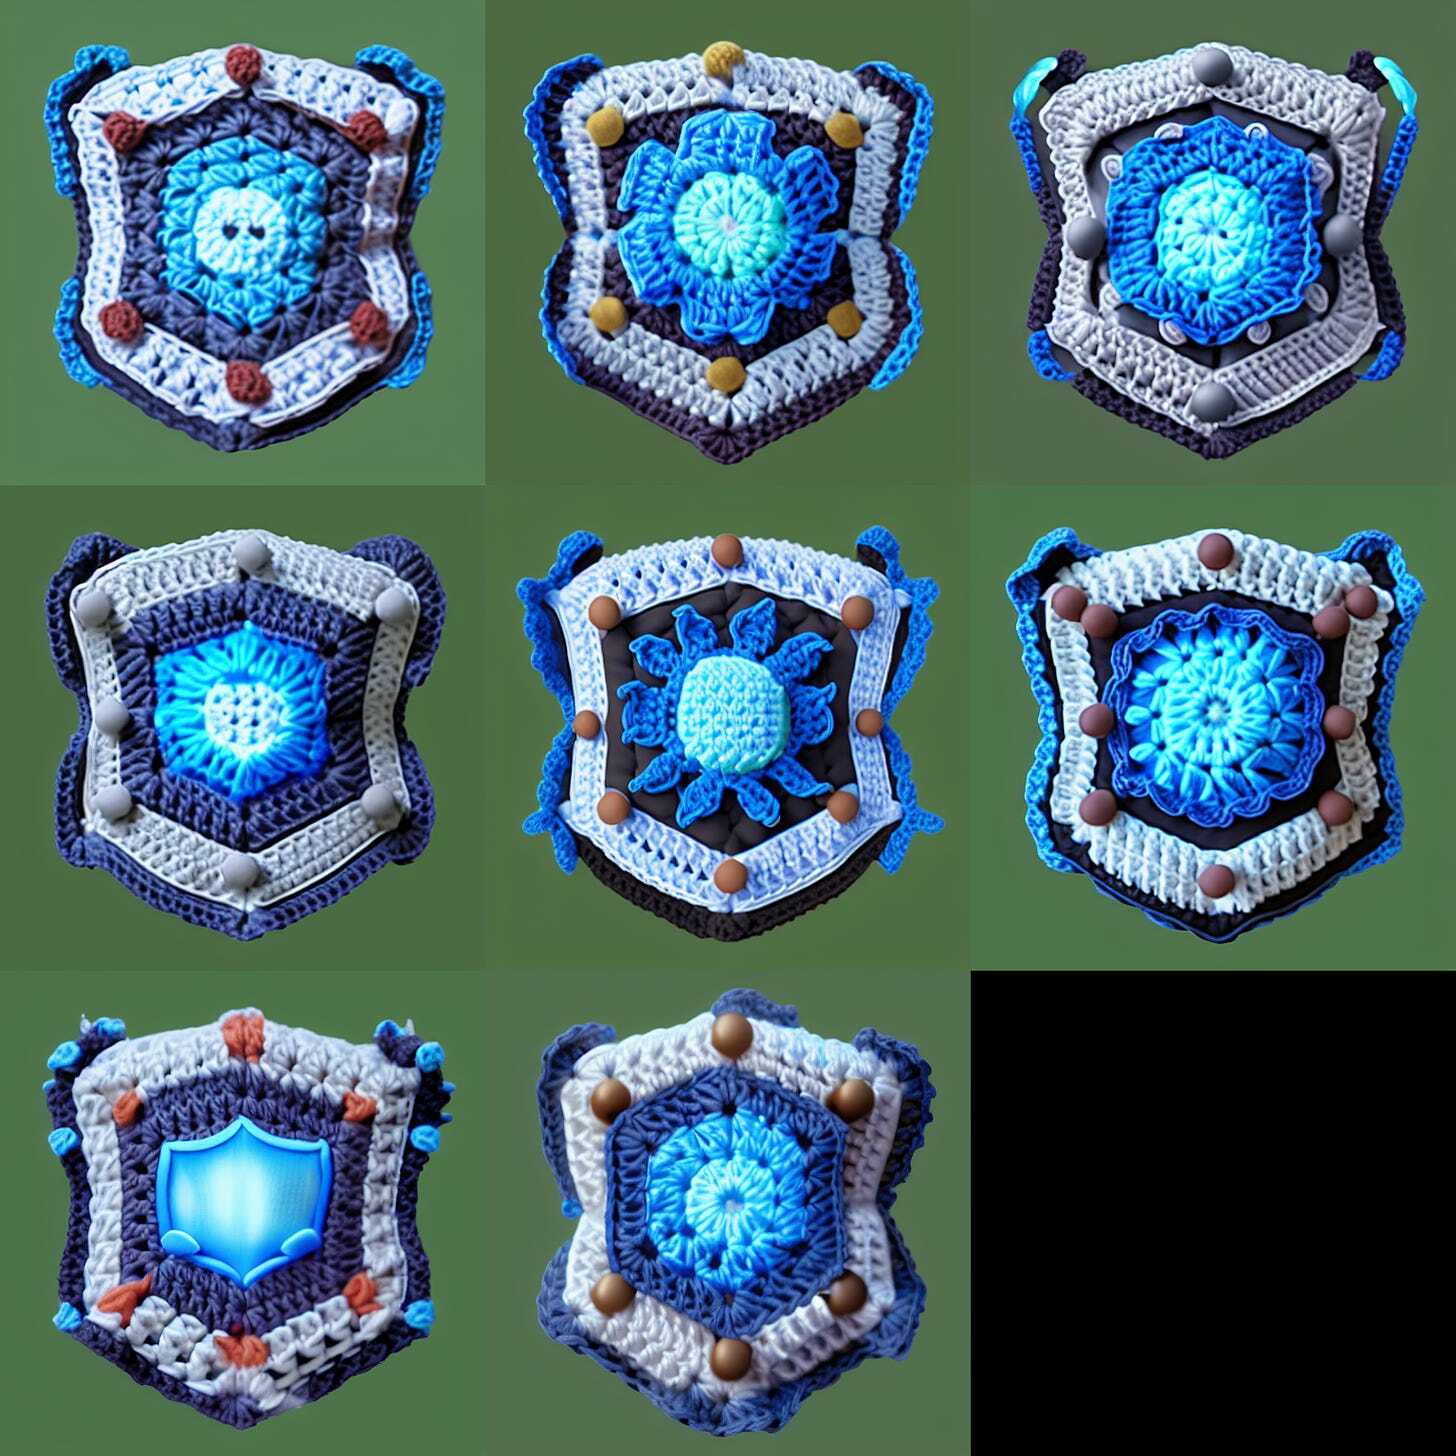
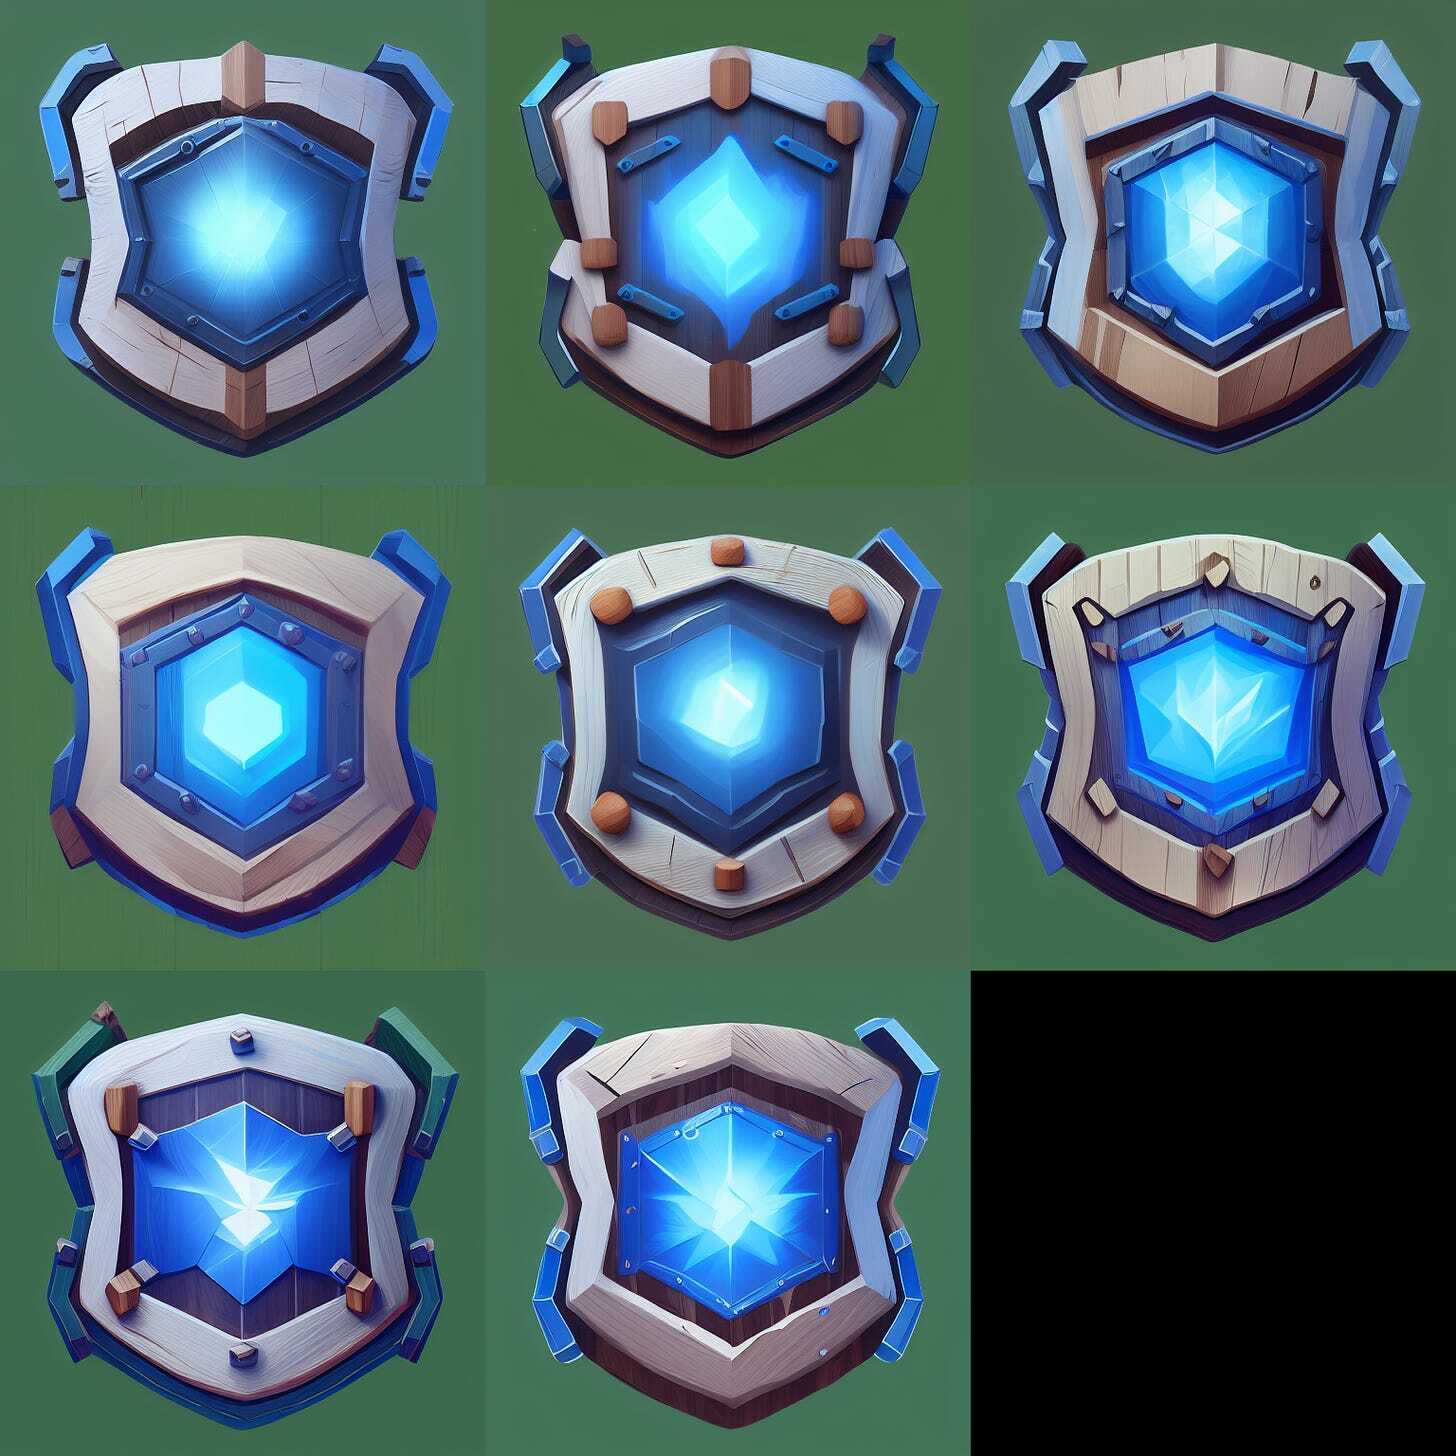
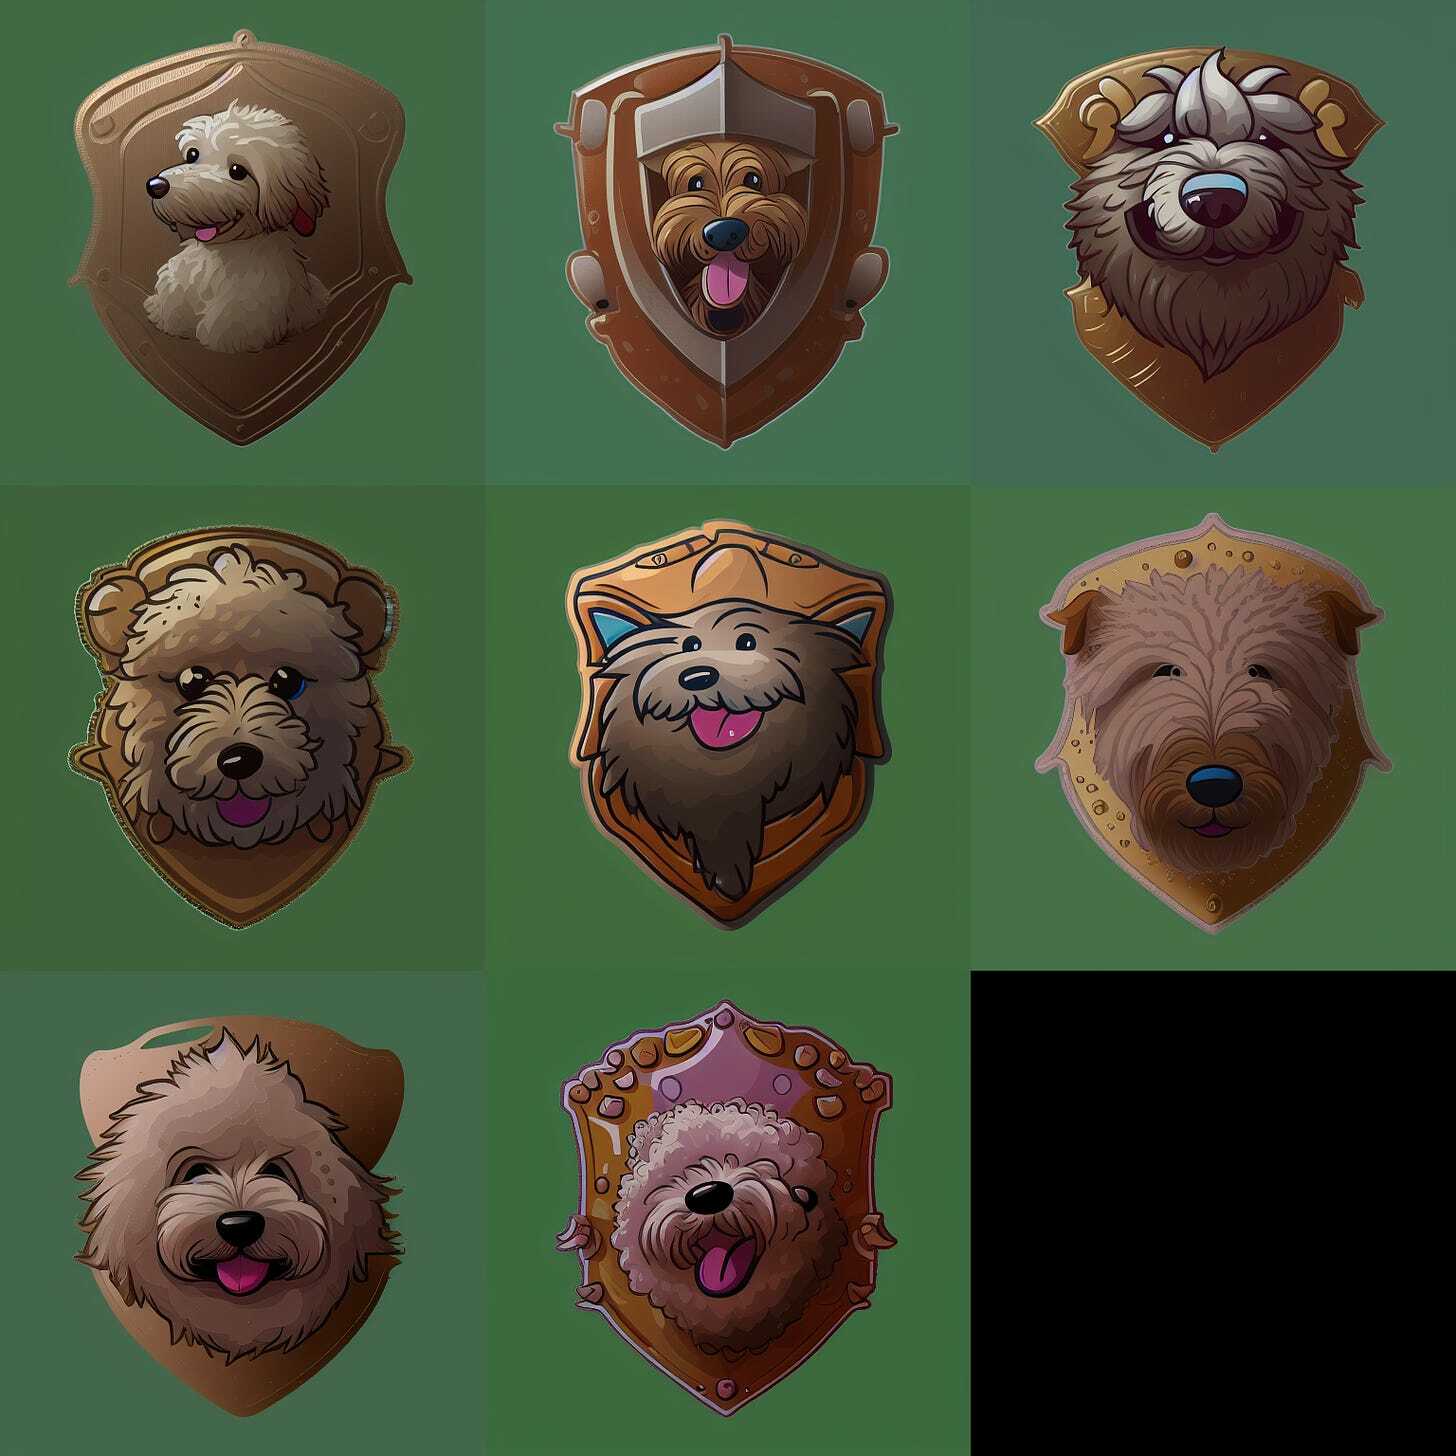
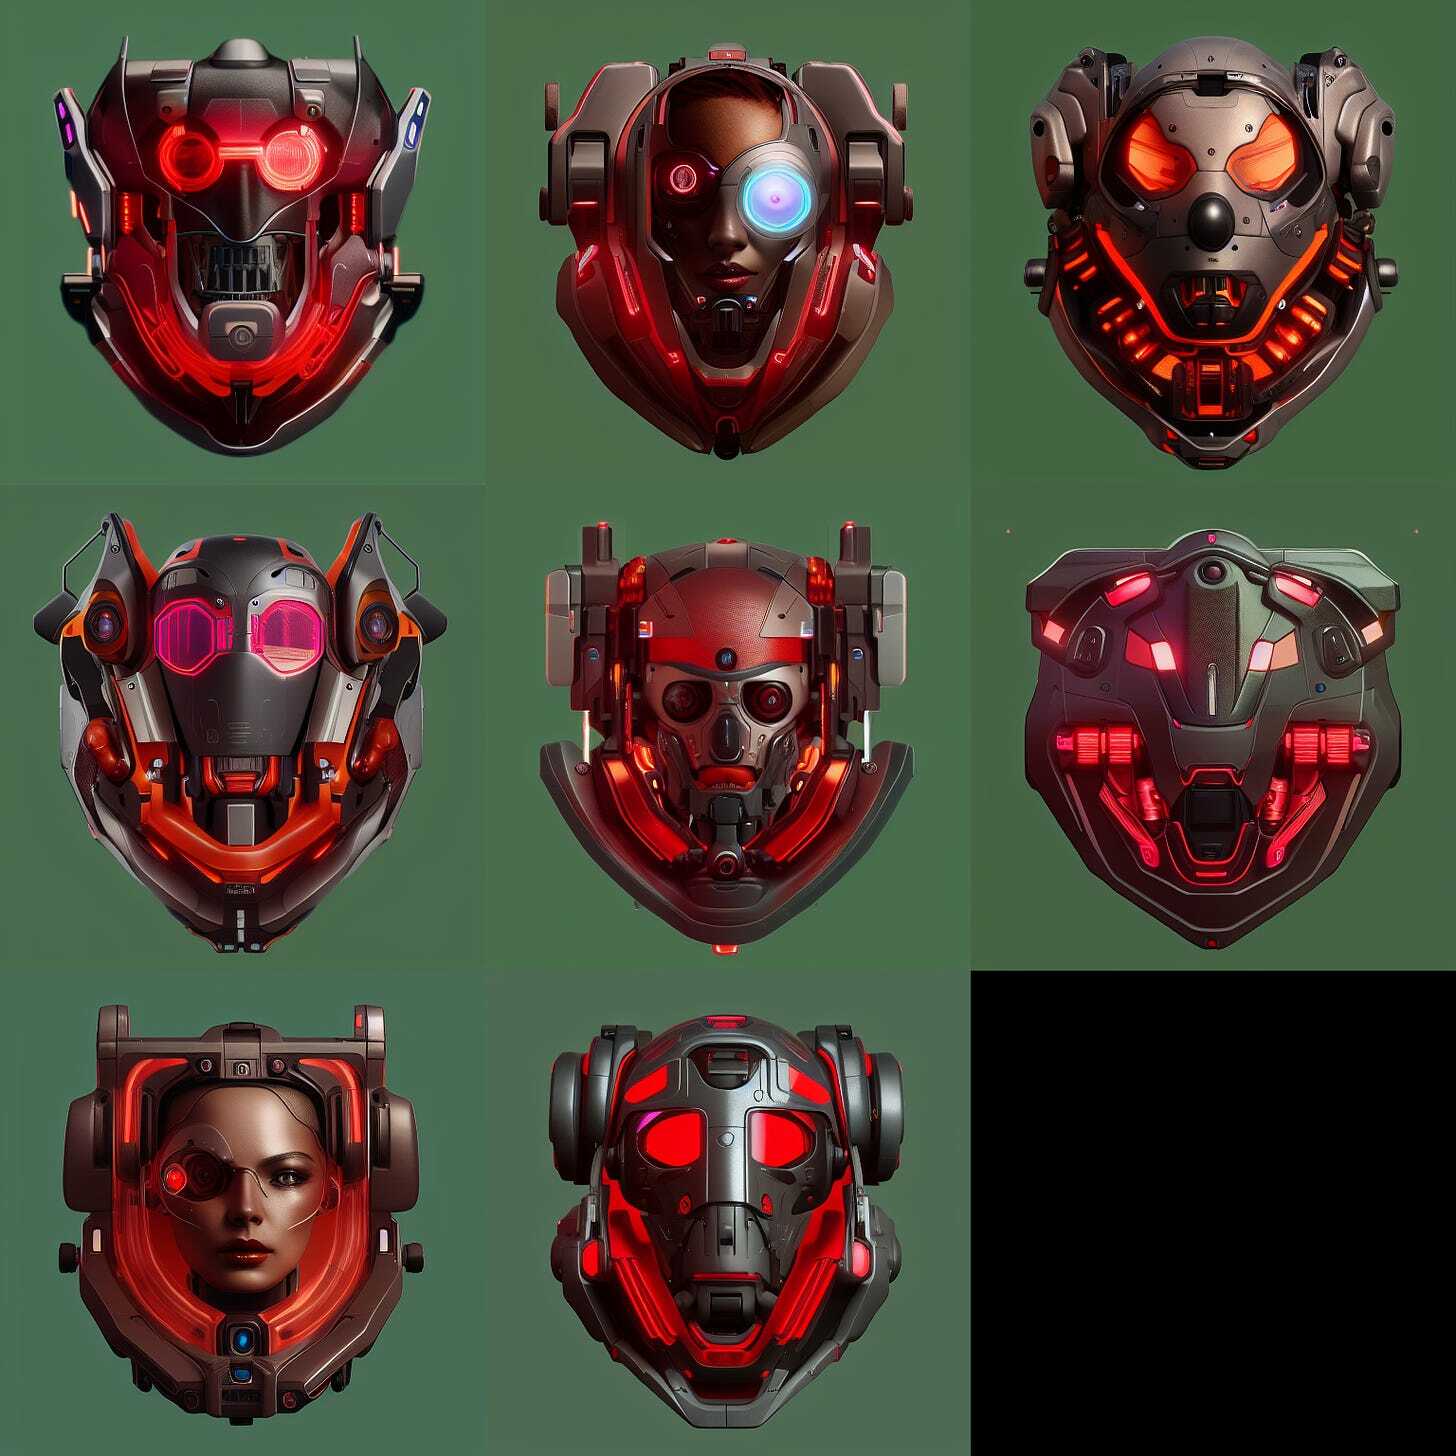
- Img2img is another great way to generate variations. You can send one of the generated images or use the original images as a starting point. I’m doing the latter in this case. Here are some more examples of what I managed to generate