
Hello FollowFox Community!
In this post, we will look at ComfyUIs API and automate the process of XY graph creation for significant time savings. As usual, we will do a step-by-step guide on achieving this and share all the code and resources used in the process.
We will not cover Comfy basics here, but for that, you can check our four-part series on starting from zero to doing more advanced workflows:
- Part 1 (link), we implemented the simplest SDXL Base workflow and generated our first images
- Part 2 (link)- We added SDXL-specific conditioning implementation + tested the impact of conditioning parameters on the generated images.
- Part 3 (link) - we added the refiner for the full SDXL process.
- Part 4 (link) - We installed custom nodes and built out workflows with img2img, controlnets, and LoRAs.
XY Plots in Comfy
In this post, we will be a little less granular on ComfyUI node parts - the four posts linked above are the material that should develop a general understanding of how these nodes work.
XY plots are powerful when testing different parameters and combinations for image generation. However, unlike Automatic1111, ComfyUI has less support for such plots and takes some time to get used to it.
In this post, we will show examples of testing LoRAs and LoRA weights with XY plots, but the approach is transferrable, and you can apply it to whatever parameters you intend to test. Let’s start with our setup right away (download this image and drag it on your ComfyUI canvas to copy it).
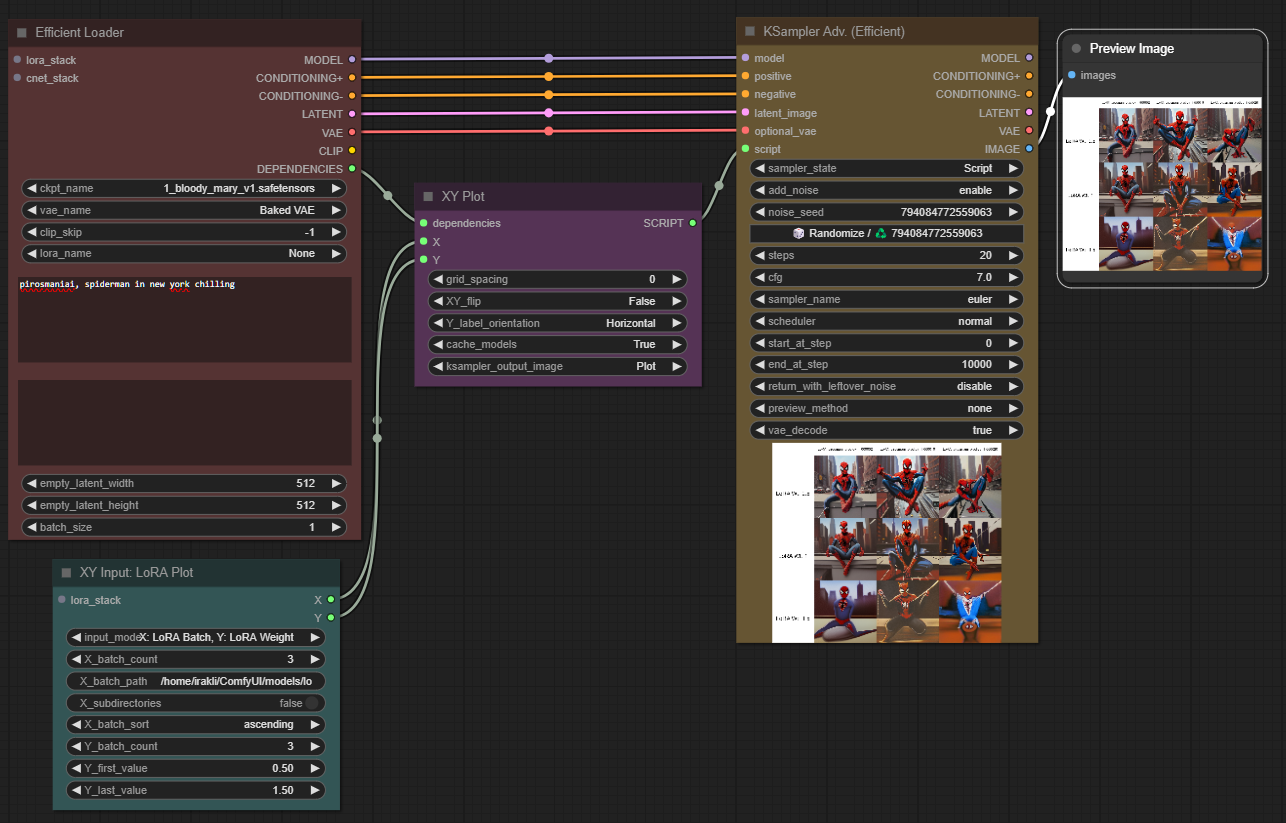
Let’s quickly review key things that are happening here.
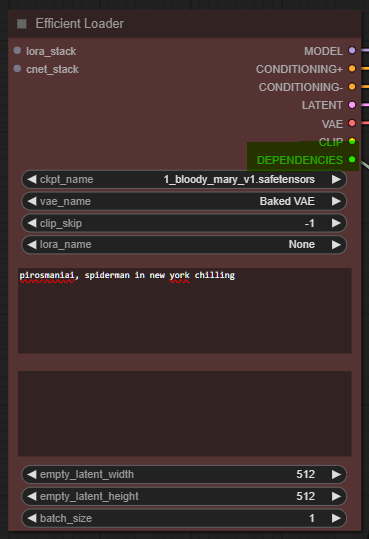
The Efficient Loader combines a few nodes typically responsible for loading a model (we use the Bloodymary in this case), creating input empty latent images and text prompts. The interesting part is the Dependencies output slot - a new thing needed for XY plotting; it ‘tells’ the next node what the levers can change during the image generation process.
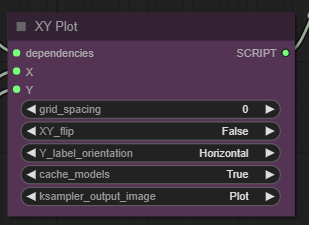
The next node - XY Plot is what powers the plot creation process. It takes as inputs the Dependencies that we just mentioned and the X and Y inputs that we will discuss. These input slots can be connected to a bunch of XY Input nodes - each allowing to iterate over a different set of parameters.
In this case, we are using XY Input: LoRA Plot node since we want to iterate over different LoRA versions and LoRA weights.
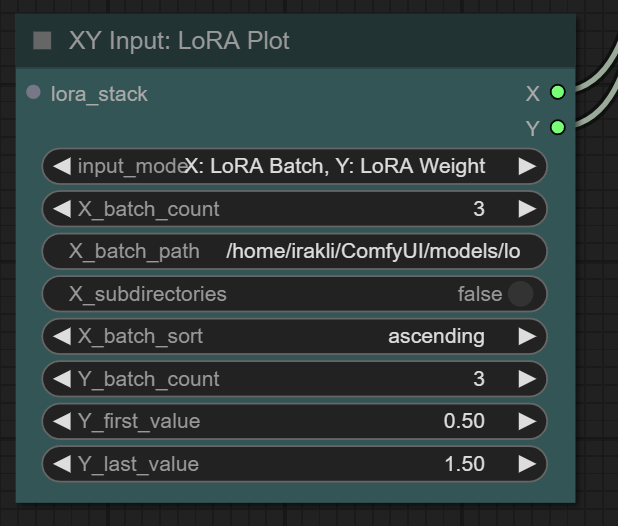
We have three LoRA files placed in the folder ‘ComfyUI\models\loras\xy_loras’. That’s why we need to set the path to the folder on this node and set X_Batch_count to three. The Y batch count will determine how many different strength values will be tested in the range we can define.
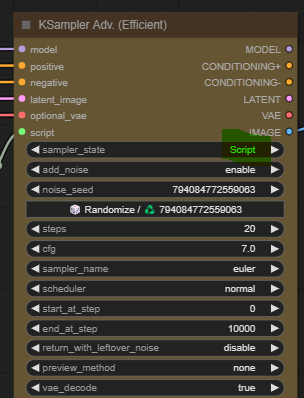
Connect everything to the Ksampler Adv. Efficient, ensure that the sampler state is set to script and we are ready to generate our XY Plot.
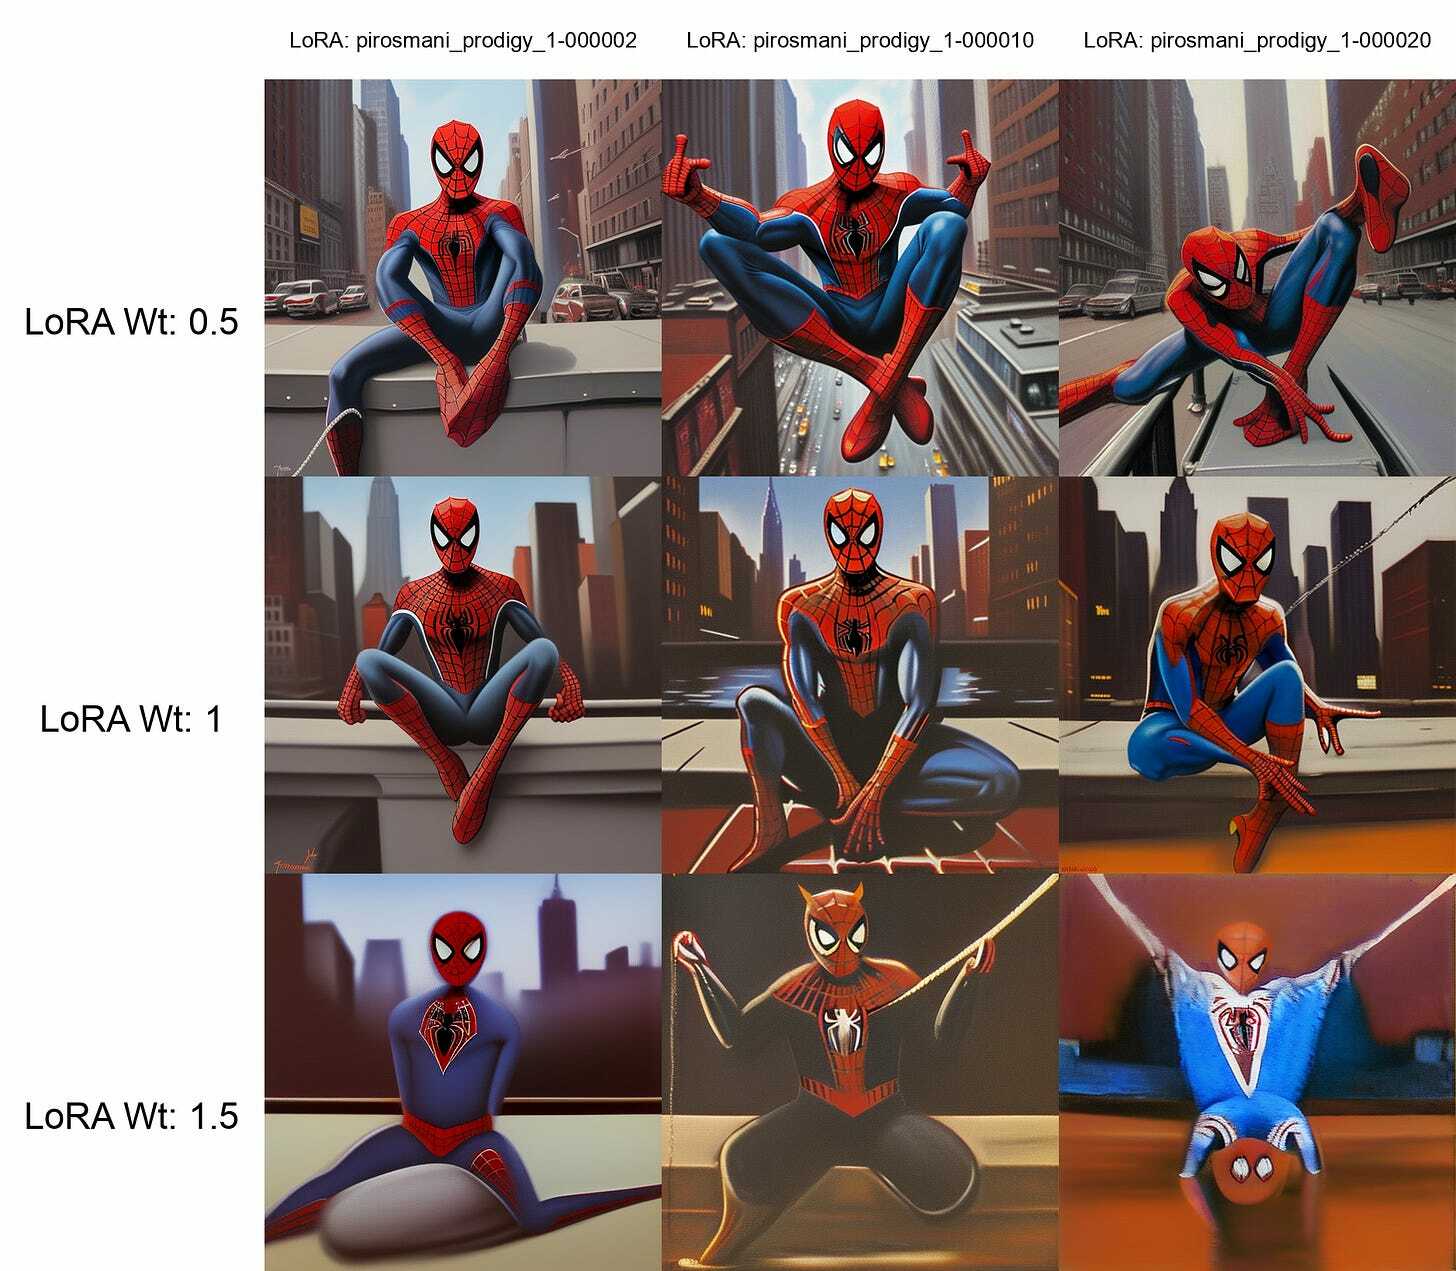
As you can see, we tested three different LoRAs at three different strength values in this case.
Limitations and Time Requirements
This is awesome but not perfect. First, one can only control two parameters through the X and Y axes. More importantly, though, you have to generate one XY plot, update prompts/parameters, and generate the next one, and when doing this at scale, it takes hours. We solved this for Automatic1111 through API in this post (link), and we will do something similar here.
Running ComfyUI with API
What’s great is that ComfyUI comes with a built-in API. Let's start by figuring out how to run things via API, and then we can automate it.
To start, launch ComfyUI as usual and go to the WebUI. From the settings, make sure to enable Dev mode Options.
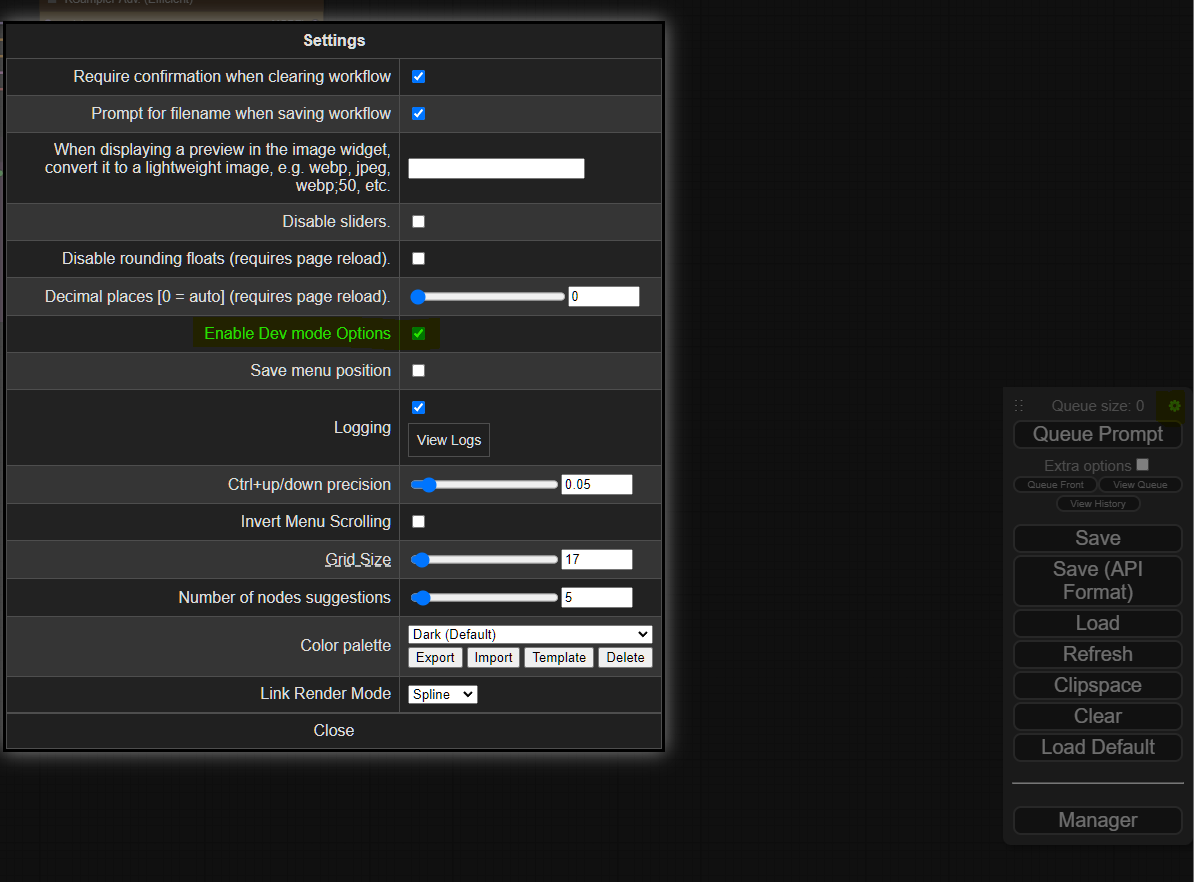
Now you should be able to see the Save (API Format) button, pressing which will generate and save a JSON file.
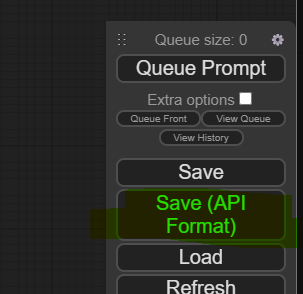
You can see that we have saved this file as xyz_tempate.json (link). The file itself is not extremely readable, but with some attention, it becomes clear that each ‘paragraph’ in JSON corresponds to one of the nodes in ComfyUI.

Let’s figure out how to run the job from this file. With ComfyUI, it is extremely easy. We just need to load the JSON file to a variable and pass it as a request to ComfyUI. Here is an example script that does that (link). You can test this by ensuring your Comfy is running and launching this script using a terminal. You’ll see that Comfy’s terminal will run this job as usual.
This gives us all the necessary clues to automate XY plot mass production. We will use this API and, from another script, just modify things like prompts and other parameters as needed.
Automating XY Plots with API
As the first step, we created a Google Sheet to make inputting all the different prompts and parameters easy. In this case, we wanted to test 45 different prompts with custom parameters each; each prompt was run with 15 different LoRA versions, 6 LoRA weights each. So, a total of ~4000 images.
If you want to use our Google Sheets template, just make a copy of this file to your drive and edit it (link).
Once the Sheet was ready, we downloaded and saved it as a .csv file in our working directory (link).
The final step was writing a script using a loop to read that .csv file and launching a ComfyUI API request for each row. You can see the script here - simply run it with your terminal. (link)
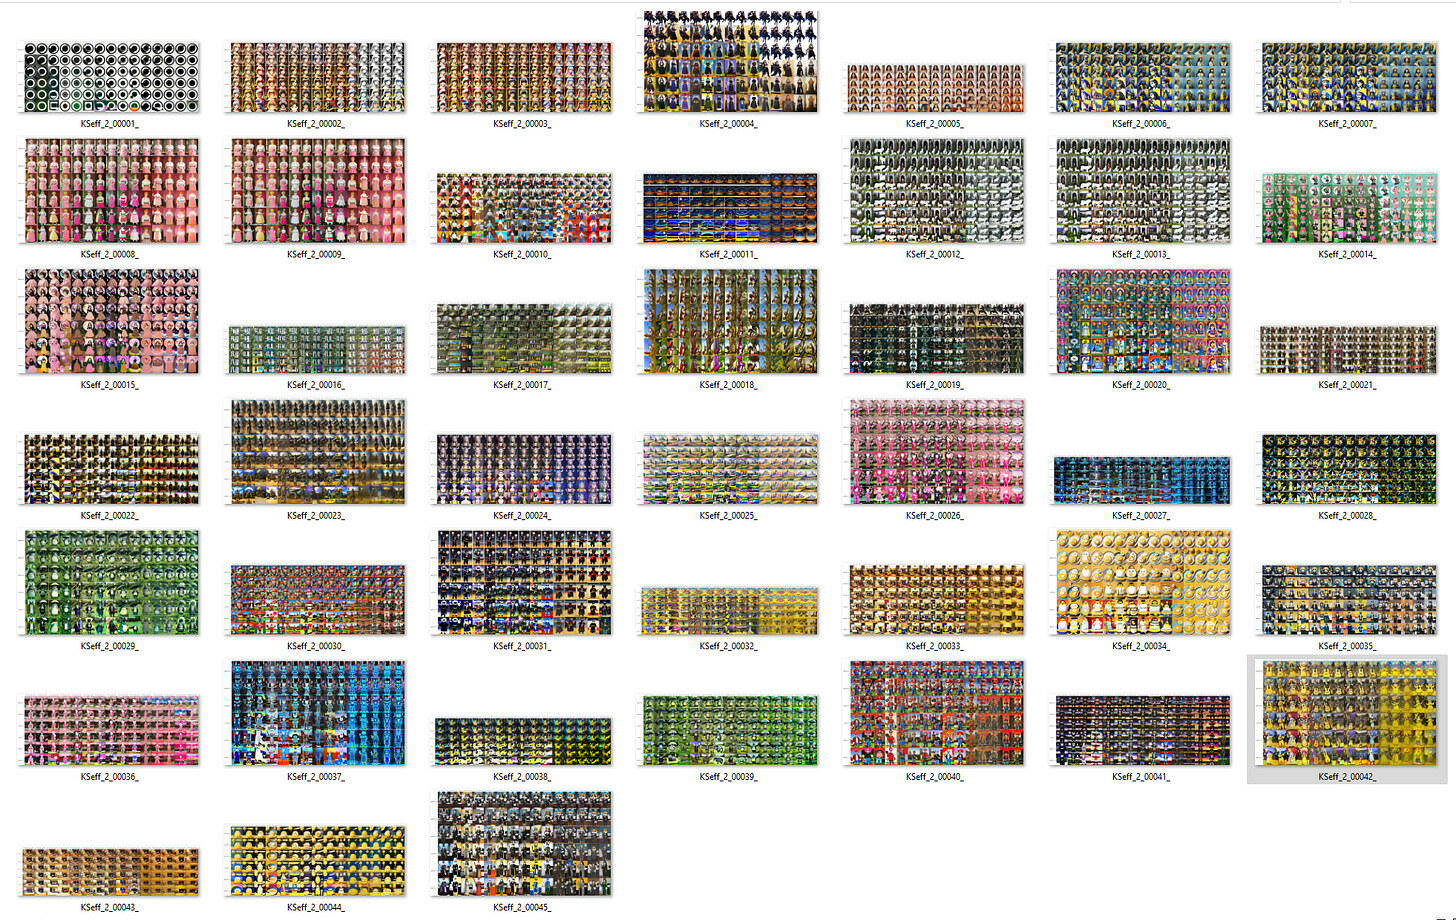
The result is amazing and saves us a ton of time. LoRA testing is just one simple use case; you can get creative to use it in many more ways.
As always, let us know what you think!
As always, let us know what you think!
